Convert Any Audio to Text Easily Using Flixier
Updated on June 1, 2025

There’s a wide variety of reasons why you might want to transcribe your audio recordings and convert them into text.
You could use it to generate the transcript of an online meeting and share them around with your colleagues who couldn’t attend. Or maybe you want to turn your podcast into a blog article in order to make it accessible for hearing impaired people and improve your SEO.
Regardless of your reasons, Flixier is probably the easiest tool to convert audio into text available on the market right now. It runs in your web browser, it’s free to try, transcribes audio into over 20 languages in a matter of minutes and most importantly, only takes a couple of minutes to do so!
With that being said, let us walk you through the process of using Flixier to convert any audio to text!
Step 1: Create a project and upload your audio/video file
To start using Flixier, create a free account or, if you’re impatient, click here to jump right into the app without one.
After signing in, click the Create Project button and give your new project whatever name you want. If you’ve decided to use the link above to skip the account creation process, your project has already been created, so you don’t need to worry about this step.
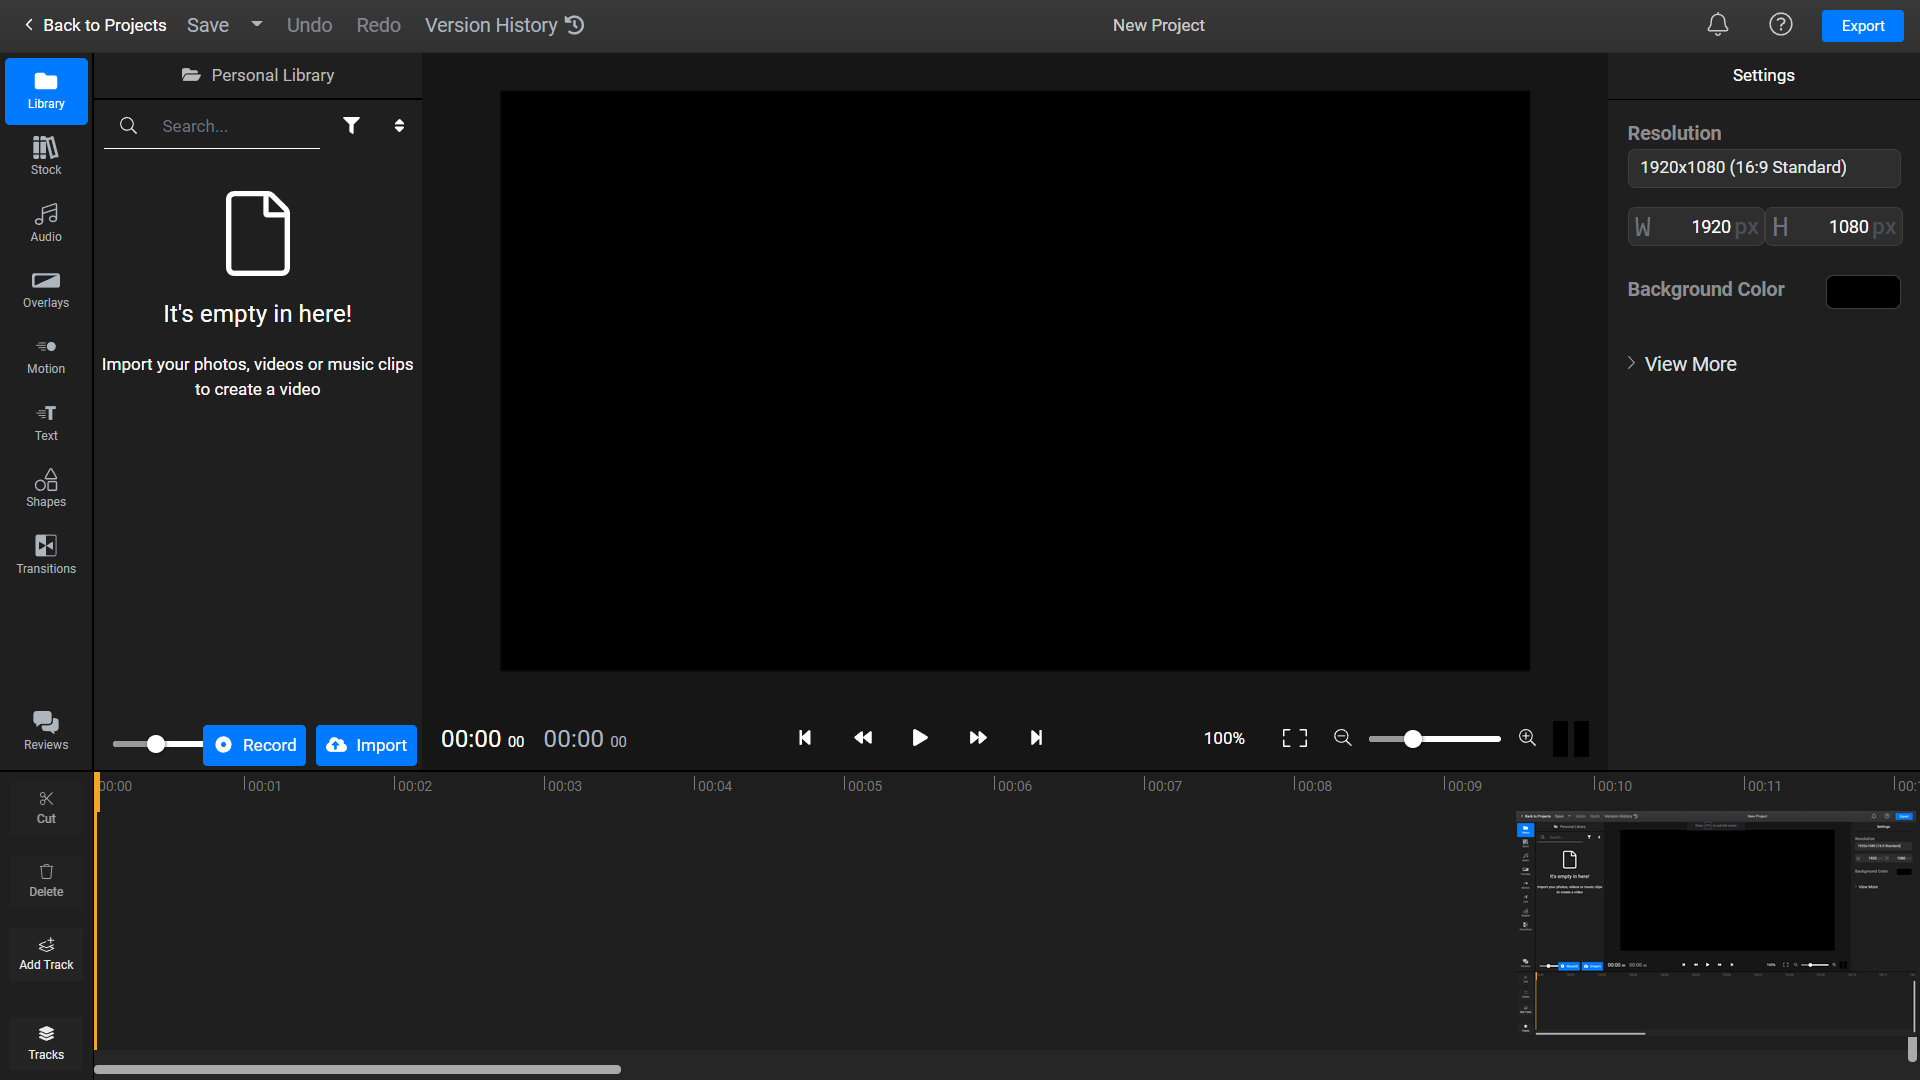
After your project is created, you’ll be greeted by this screen:

On the left side of the screen, you’ll notice a blue Import button. This will allow you to bring the audio (or video) files that you want to transcribe over to your Flixier library. Clicking on it will open this menu, giving you the option to choose between a number of different sources that you can bring media over from, including a variety of online cloud storage platforms as well as video/audio sharing websites like Twitch, YouTube or Soundcloud.

Select the right source, navigate over to the file location, select them and click on Import to add them to your Flixier library. Give Flixier a few seconds to encode your new media files before moving over to the next step:
Step 2: Transcribing the audio
Normally, transcribing your audio manually by hand could take anywhere from 15 minutes to a couple of hours, but Flixier does the job for you: and it does it in just a couple of minutes!
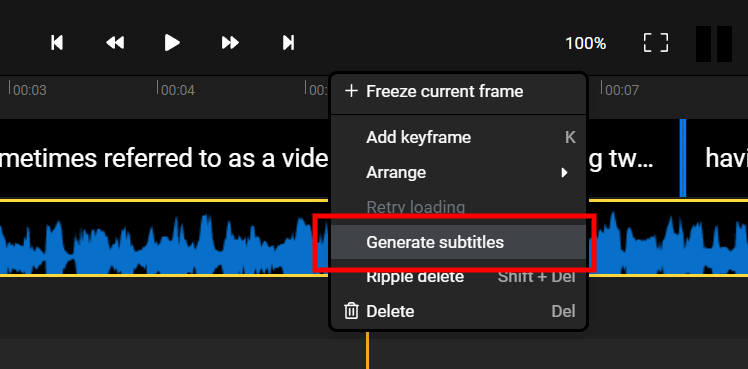
To start converting your audio to text, double click the audio/video files to add them to the Timeline at the bottom of the screen. Then, right click on the file you want to transcribe and select Generate Subtitles.

Flixier will now automatically process the audio and create a text/subtitle file that you can edit manually and then save to your computer. This will serve as the transcript of your video.
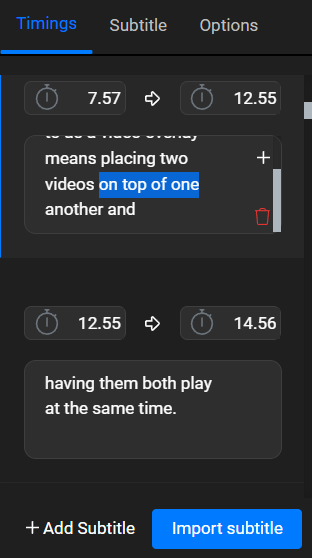
You’ll notice that once Flixier is done processing your audio, a new file pops up in the timeline. This is the subtitle object and it’s fully synced to the audio. Since you only need the transcript, you won’t care about the timings, but if you want to check the automatically generated transcript for any mistakes you can click on it and edit the text using the menu on the right side of the screen:

Step 3: Saving the transcript to your computer
After you’re done editing your transcript, it’s time to save it to your computer. In the same right side menu, click the Subtitle tab and then take a look at the Download Subtitle section:
.png)
The .TXT format should be selected by default, so leave it like that. Click the button next to the drop down list to save the text version of your audio to your computer.
So, what are you waiting for? Now that you’ve seen how easy it is to use Flixier to convert audio to text, open up our editor and start transcribing your audio files now!
Dan is passionate about all things tech. He’s always curious about how things work and enjoys writing in-depth guides to help people on their content creation journey.


