How to Post a Video on YouTube and How to Edit It
Updated on June 1, 2025

Table of contents
- How to Upload Videos on YouTube
- 1. Create a YouTube Account
- 2. Make Sure That Your Video File Is HD
- 3. Add the Video to YouTube
- 4. Decide on Your Video Title and Description
- 5. Link to Other Social Media Platforms
- 6. Add a Cover Image for Your YouTube Video
- 7. Select Tags for Your Video
- 8. Select the Privacy Settings
- 9. Post the YouTube Video
- Can You Edit a YouTube Video After Posting?
- Before Uploading Videos to YouTube, Edit Them with Flixier
It's never been easier to create and share videos on YouTube, but that doesn't mean it's no real job. It takes time, effort, a good idea—and some help from us! If you want to post your videos for the entire world to see, we have put together a list of things to do in order to upload and edit YouTube videos.
How to Upload Videos on YouTube
Once you export your video content from video editing tools, it is time to start the upload process. In this part of the material, we will show how to upload videos to your YouTube channel, step-by step.
1. Create a YouTube Account
You can't post a video on YouTube without an account, so the first thing you'll need to do is sign up for one. To get started, go to YouTube's homepage and click "Sign Up." Fill out your email address and password, then scroll down past the section labeled "Create Your Profile."
There are several things you'll want to include in your profile before posting a video:
- A profile picture: This should be an image of yourself or something related to your channel (e.g., if you're going to be making cooking videos, maybe include a photo of some delicious food).
- Links: Add links related to whatever content you plan on posting as part of this channel—these are usually used as tags that help viewers browse different types of videos they might like better than others.
2. Make Sure That Your Video File Is HD
Before you upload a video to YouTube, make sure it's in HD. HD videos look better and can be watched on larger screens without losing quality or resolution.
Nowadays, pretty much all phones are capable of recording 1080p (full HD) videos, but you need to check the recording settings and make sure the highest recording quality is selected. If your phone really can’t record HD footage, then look for a webcam or a camcorder that will.
3. Add the Video to YouTube
The next step of the process of uploading videos to YouTube is actually choosing the video file you want to add to the platform.
To do that, click on the video icon in the upper right corner of the window, next to your user icon, messages, apps, and notifications. Click the 'Upload a Video' button. Then, click 'Select files' to locate the video file on your computer. Alternatively, you can drag and drop it into the window.
4. Decide on Your Video Title and Description
Now that you have your video up and ready to be seen by the world, you need to make it look good. Your first step is to decide on a good title for your video. Try not to use any words or phrases in the title that aren't relevant or useful. You want the title of your video to be short, but still include important information about what your content is all about. For example, “How To Make A Sushi Roll” is a good title because it tells people exactly what they're going to learn in the video. The word “sushi” in itself has been searched millions of times on YouTube—you'll definitely get some views if people can find what they're looking for right away!
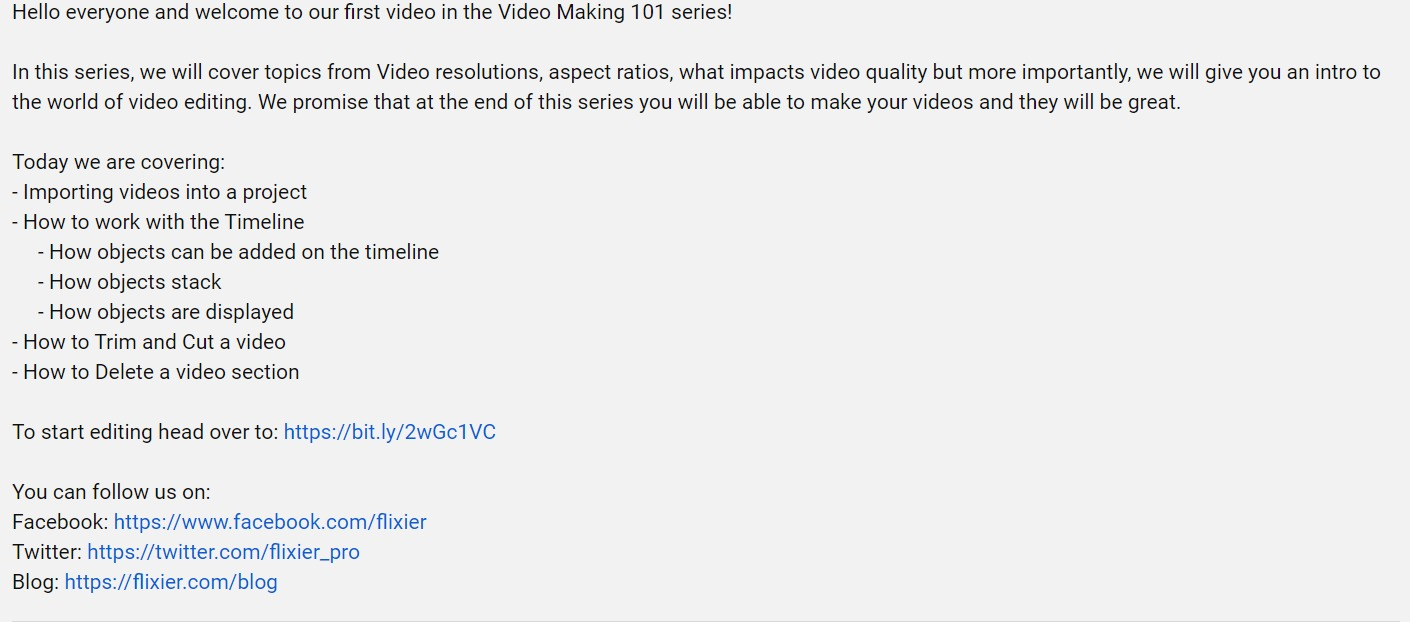
The description below should be as informative as the actual video itself—and it should include as many keywords as possible so that YouTube knows exactly who would want to watch this particular clip! Here are some examples of how we've done this with our own videos:
5. Link to Other Social Media Platforms
You can also add links that people can click on to other social media platforms, such as your Facebook page and Twitter feed. This is a great way of generating traffic and expanding your audience!
Additionally, you may want to add links to your website, blog and other online properties (such as an Amazon store). You could also include a link in the video description that leads viewers back to one of your other videos or channels on YouTube or another video platform. You can even add an email newsletter signup form so that you will be able to continue building upon this relationship with new subscribers over time!
6. Add a Cover Image for Your YouTube Video
You can use an image as your thumbnail, but it's also helpful to add an additional image that appears at the beginning of your video. This is called the "cover" or "card" and it will help your audience understand what they are watching before they click play. Make sure it is a good quality image: if you're posting online, being able to see every detail in the picture is crucial—it tells people whether or not they should watch this one second clip before they commit time and energy into watching other parts of your video as well! If you have any logos or important text on this image, make sure that text is legible from afar so viewers can read what it says immediately upon first glance.
A good idea for cover art would be something along these lines:
- something related to content within the video (e.g., an action scene),
- an icon indicating genre/style type such as black & white photography with text overlayed on top saying "This Is How We Do It!",
Just make sure whatever choice(s) made falls within YouTube guidelines regarding file size limitations—maximum dimensions 1920 x 1080 pixels resolution.
7. Select Tags for Your Video
Now that you've entered all the necessary information, the next step is to select tags for your video. Tags are keywords that help people find your video when they search for them on YouTube.
- Use relevant tags: Pick appropriate keywords based on what the video is about, so people can find it when they search for them. If you're posting a recipe video, then obviously "recipe" should be one of your tags! However, don't go overboard with this—don't use every single word in a recipe as a tag just because there are no other recipes like yours out there yet (that's called keyword stuffing). Try to keep it short and sweet with 3-5 relevant words per tag phrase.
- Don't use too many tags: using too many tags, especially if they’re not related to the topic of your video, can be misleading. YouTube will detect you and penalize you for trying to abuse the system.
8. Select the Privacy Settings
You can control who can and cannot see your video by adjusting the privacy settings. In the uploading process, YouTube offers the following options:
- Public: Anyone can watch your video, and it will appear in YouTube search results. This is the default setting, and if you intend to use YouTube to market your business or expand your reach, you should make your videos public.
- Unlisted: Unlisted videos are still public, but you must provide a direct link for people to view them. Furthermore, these videos will not appear in YouTube search results or in your video feed. Unlisted videos can be used for marketing purposes to promote exclusive deals or events.
- Private: Only you have viewing privileges.
When you've decided on your preferred option, click 'Save.'
9. Post the YouTube Video
Now that you have followed all these steps, you only need to click “Publish” and your video will be live!
Can You Edit a YouTube Video After Posting?
Yes. You can make minor changes to your previously uploaded videos using the YouTube Studio video editor. However, it lacks the functionality of downloadable video editing software. You can, however, use it to edit portions of your uploaded video right on the platform!
YouTube does not want creators to make major changes to previously published videos, especially if the video has already been viewed. The reason for this is that uploading a new video to replace an old one while retaining the features of the previous video may confuse users and YouTube's algorithm. However, the website recognizes that sometimes artists make honest mistakes, or someone who appears in the uploaded videos requests that their image be removed.
As a result, any YouTube creator can remove sequences from their videos without having to reset the video metrics. It's worth noting that Google says you can't save changes to your edited video if you have more than 100,000 views and aren't a member of the YouTube Partner Program.
Here are the steps you need to follow in order to edit video elements posted to YouTube:
1. Sign In to Your YouTube Account
To begin editing already published YouTube videos, sign in to YouTube with your Google account.
2. Find the Video You Want to Edit
You can access all of your published videos after signing in. Navigate to My Channel > YouTube Studio.
When you click the Videos button, a list of all your published videos will appear. Now, all you have to do is to choose the video to be edited.
3. Edit Your YouTube Videos
When you click the video you want to change, you'll see all of the details, such as the title, description, and so on. The YouTube video editor interface is accessed by selecting "Editor" on the left side of the screen.
These are some of the edits you can make:
- Removing sections from the video's beginning, middle, or end.
- Adding a blur effect to the video to hide objects.
- Replace or add royalty-free music from the YouTube Audio Library.
- Watermarks and logos can also be added to your videos.
4. Save the Edited Video
You can now save the modified video once you are satisfied with it. Whenever you feel like editing the video again, just sign in to your YouTube account and repeat the process.
Before Uploading Videos to YouTube, Edit Them with Flixier
Instead of editing after you upload videos, make sure that your video content is already amazing before the upload process! To do so, you can make use of our online video editor.
Flixier dramatically improves your video editing workflow by providing fast rendering on any device, ample cloud storage, and advanced project sharing features.
Why don’t you create a free account and test it for yourself?
Andra is highly curious about the marketing field, but most of her experience lays in the content writing sphere, mainly in relation to social media marketing, social media automation, and video marketing.