- Home
- Blog
- Educational Videos
- Which Webcam is Best for Online Teaching
Which Webcam is Best for Online Teaching
Updated on June 1, 2025
For the last decade or so, most laptops came with built in web cameras that were advertised as “High Definition”. That sounds good on paper, but if you actually put them to the test during an online class you’ll quickly realize that those pinhole cameras look grainy, pixelated and laggy during calls.
The easiest solution for most people looking to teach online classes is an external webcam. They’re plug and play, offer better video quality than their built-in counterparts and some even have decent microphones. Choosing one of the many available models, however, can be a bit of a hassle.
That’s why, in this article, we’re going to tell you which external webcams are best depending on your needs and budget and offer a few tips on how to get the most out of them.
Oh, and we’ll also offer an alternative solution for the budget conscious who’d rather not buy a new webcam if they don’t have to.
Best budget external webcam for online teaching
Logitech C922 / Logitech C920
When it comes to budget external webcams, there isn't anything on the market that can beat the C920/C922 models from Logitech.
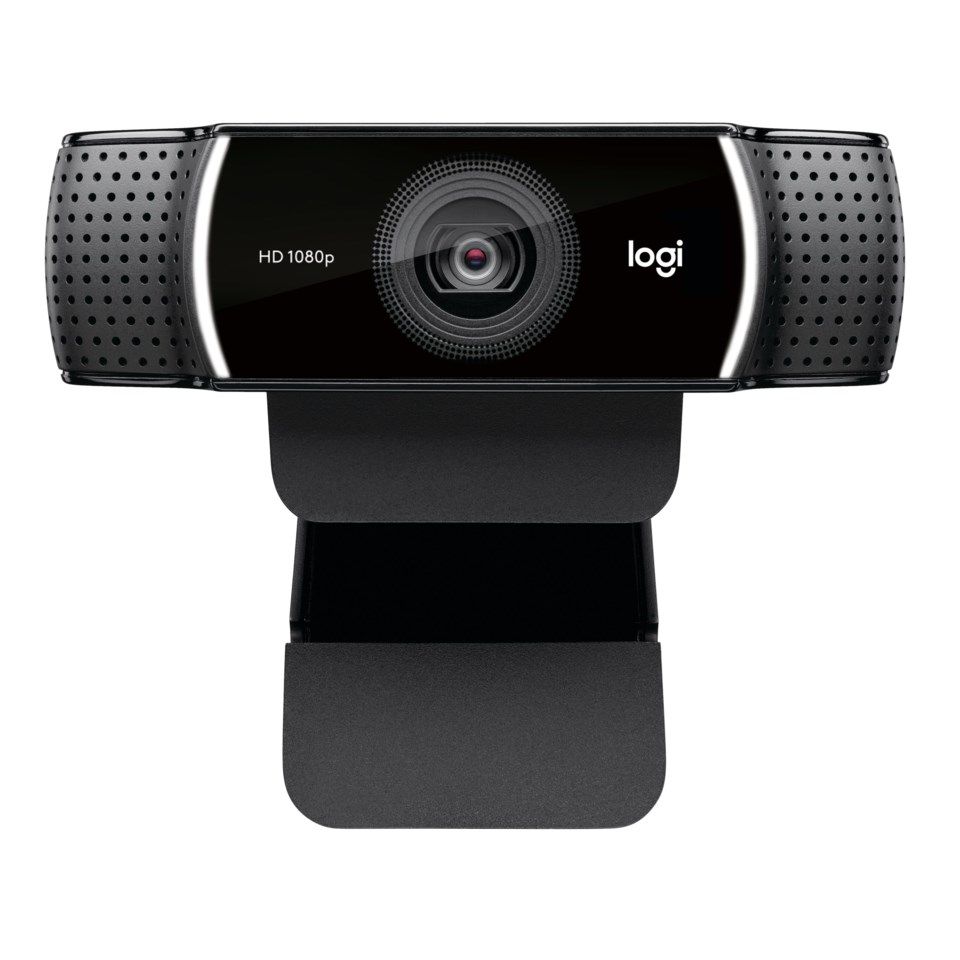
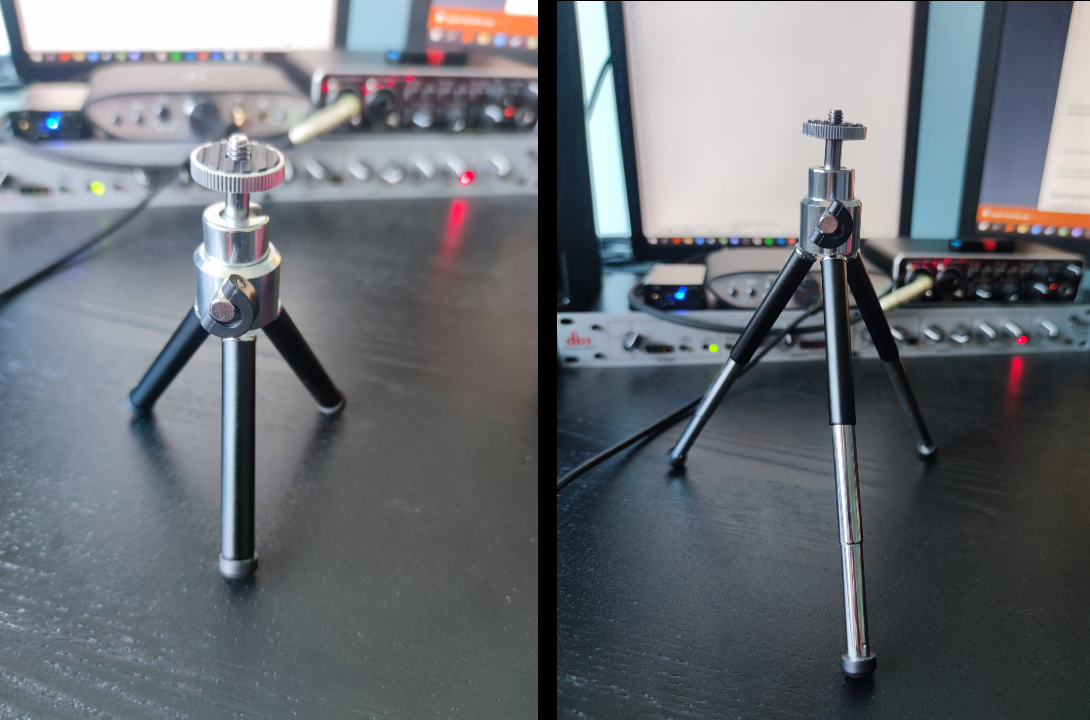
Both can be found for anywhere between $70 to $100 depending on where you live. The only difference between the two models is that the C922 has a slightly wider Field of View (meaning it can capture a wider area) and comes with a small, but very convenient tripod that allows you to place it closer to your face (which is recommended, especially if you're teaching on a desktop computer).
As far as image quality goes, both cameras can do 1080p (full HD) at 30 frames per second right out of the box, which is more than enough for holding classes over Zoom or Google Classroom.
Colors are natural and low light performance is also the best you can get for an external webcam, although we do recommend facing a window in order to get more natural light for the best possible image. If you don't have any natural light source available, keep reading, since we're going to provide some very useful lighting tips further down in this article.
Best external camera for image quality
Logitech Brio 4K
Detailing at around $200, the Logitech Brio is significantly more expensive than the C920, but offers one big improvement: it can capture 4K.
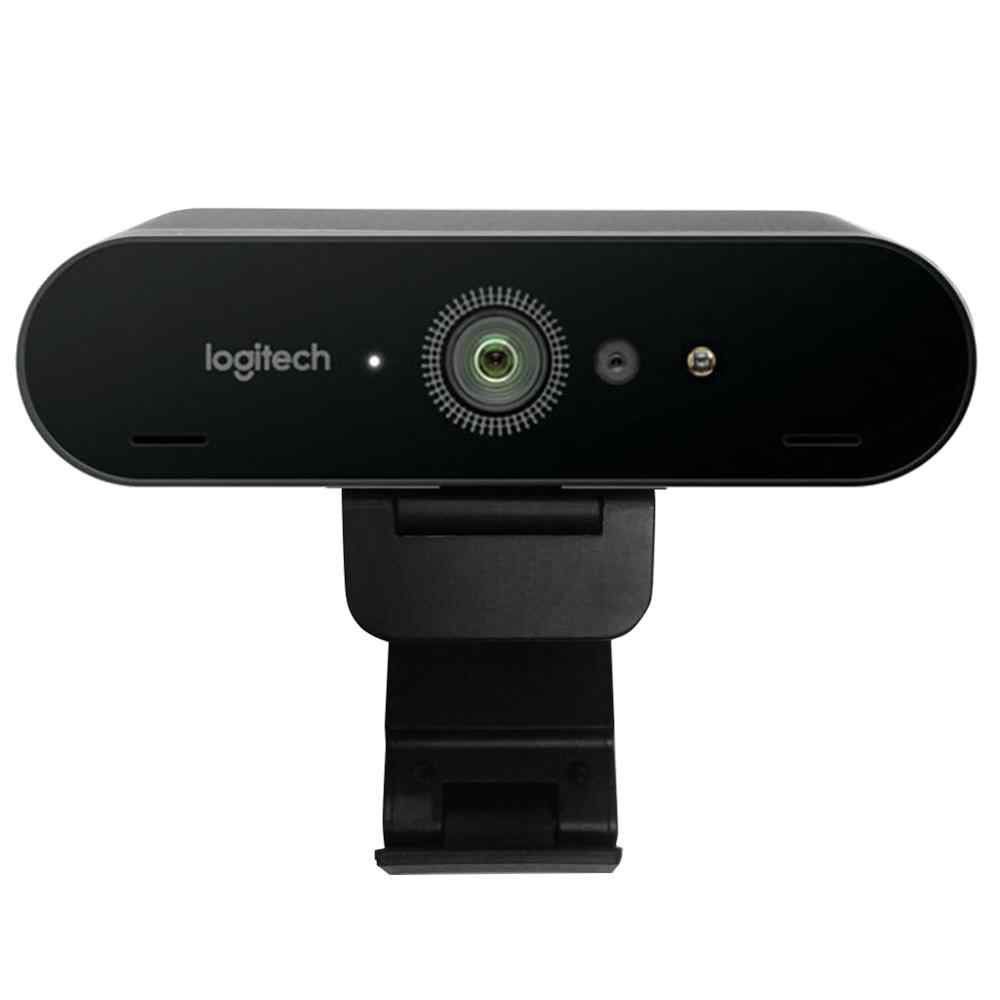
Now, obviously there's not much of a need to hold online classes in 4K, but the advantage here is that you can use the camera's software (available on Windows and Mac) to zoom in on your face and frame the image better without losing out on image quality.
Since the overall resolution is 4K, that means that even a 4x digital zoom will still result in a full HD image being transmitted to your students.
Color accuracy and low light performance are also slightly better than they are on the C920, but don't expect it to perform any miracles and allow you to hold classes using your computer monitor as the only light source.
Cheapest option
Using your phone as a webcam
If your budget is really tight and you really don’t want to spend money on an external camera, you can still get great picture quality for free, assuming you own a smartphone. There are multiple free apps out there that allow you to use your phone as a computer webcam. All you need is a cheap tripod/phone holder to keep your phone steady.
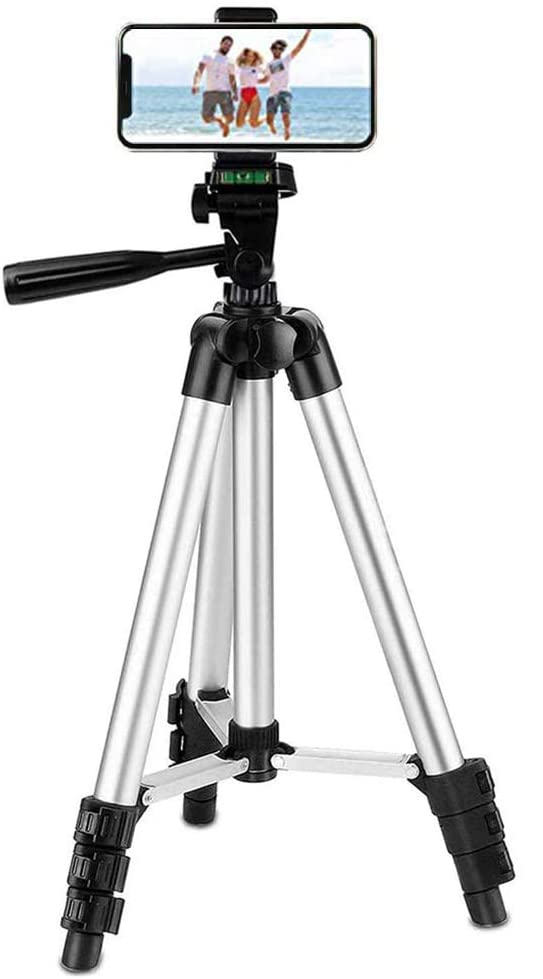
These apps work great with most video conferencing applications. On top of that, they also generally offer better image quality *and* low light performance than a webcam, since the cameras found in modern phones tend to have way better sensors than external webcams.
There are, however, some downsides to using this method as well:
- Your phone and computer have to be on the same Wi-Fi network in order for it to work. If the signal is bad, the camera might stutter or become laggy. You can bypass this in some apps by connecting your phone using USB, but depending on your phone, that method can require quite a bit of tinkering with Windows/Android settings.
- You won’t be able to use your phone during online classes. As a teacher, not being able to check your notifications or calls during class can be incredibly frustrating, especially if you use it to communicate work-related information with your colleagues.
- It takes a while to set up. Putting your phone on a tripod and starting up apps isn’t a lot of work, but doing it every day can definitely get tiresome quickly. A USB external webcam is much easier to use, since all it needs is for you to plug it in whenever you need it.
What apps can I use to turn my phone into an external webcam?
Iriun and DroidCam are two of the most popular apps that allow you to do this. They're both free and they're available on Android, iOS, Windows and Mac.
How to improve webcam quality during online classes
Since webcams (and, to a certain extent, phone cameras) have very small sensors, they’re not very efficient at letting in light. That means you’ll need a lot of it in order to get a decent image out of your external webcam.
That’s why we recommend that you try to take advantage of the sun as much as possible when holding your online classes. If possible, you should be facing a window. If the light is too harsh, cover it with a semi-transparent curtain (or just use a white sheet) to diffuse it.
How to light the room up for online classes
Since online classes can last a long time, you might not be able to get good sunlight for the entire duration. That’s when artificial lighting comes in. But don’t worry, you won’t have to turn your entire room into a recording studio.
You can get very good results just by using one or two basic desk lamps. For the best results, install a cheap smart bulb for the lamps. You can find them for around $10 and they allow you to adjust the brightness level on the go, which will come in very handy.
Next, move your desk up to a wall. Put your lamps on the desk, point them at the wall and turn them on. The light should bounce off the wall and reflect back onto your face, lighting you up enough to make you look good on camera, but not blinding you.
If you feel like the lights are too bright, feel free to adjust their intensity using the smart bulb’s own app.
Best settings for your Logitech external webcam
Another useful feature of the external webcams we recommended above is that you can use them with a free software called Logitech Capture. The app is available on both Windows and Mac and offers some extra options that video conferencing apps don’t.
NOTE: The Logitech Capture isn’t required in order for the webcams to work. You don’t have to bother with it if you don’t want to, but it can help you squeeze some more quality out of your camera.
Priority
If you don’t have proper lighting in your room, set this to Exposure. The image might be a bit choppier, but prioritising exposure will make it easier for your students to understand what’s going on.

If you have enough light, feel free to set it to Framerate so you don’t end up looking shiny and overexposed.
Zoom
This option lets you Zoom in and pan the camera to get better framing. If you’re using the C920/C922, try not to zoom in more than 25-75%, or the image will end up looking grainy. If possible, move the camera closer to you instead.
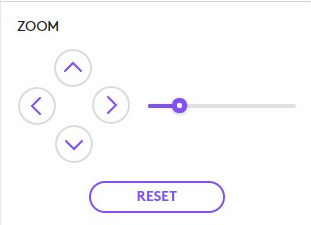
Image Settings
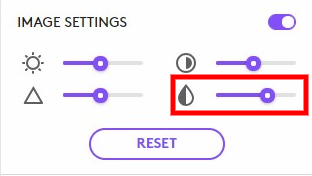
These aren’t generally worth messing around with, since moving the sliders just a little to the left or right usually tends to ruin the image. However, if you want to look a little more lively, you can consider increasing the saturation just a little bit using the last slider on the right.
Anti-Flicker
If you notice your webcam flickering, switch this from 60 Hz to 50 Hz, or vice versa. This is usually caused by your lights operating at a different frequency than the camera shutter speed. It’s not really something that you can control, nor is it something you should worry about.

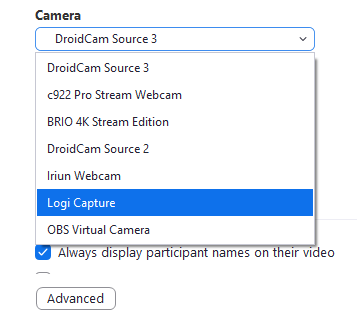
NOTE: When using Zoom or other online teaching apps, you need to select Logi Capture as your video input if you want the changes to take effect.
Can I use an external camera to record educational videos?
A great webcam can be used for more than just online classes. You can use an educational video maker app to record videos using your webcam, either as part of an online course or just to share knowledge with the world.
Online video editor apps like Flixier are an easy way to put together these educational videos using only the equipment you already have (like a webcam and microphone) and then add images, text or even splice in other videos, all in just a few minutes.
We hope this article helped you pick the best external webcam for your needs. We’re sure your students will appreciate the improved video quality. Good luck teaching your online classes and if you’re looking to start making videos as well, check out our guide on how to make better instructional videos!
Dan is passionate about all things tech. He’s always curious about how things work and enjoys writing in-depth guides to help people on their content creation journey.


