Creating a Video Montage With Pictures Using Flixier
Updated on June 1, 2025
A video montage can be a great way to remember and share your favorite moments from a trip, vacation or party with friends and family. Unfortunately, however, making a video montage isn’t always as easy as it should be.
A lot of video editing software requires a compatible computer, takes long to download and install, is difficult to understand or simply refuses to work with the videos and photos you’ve taken.
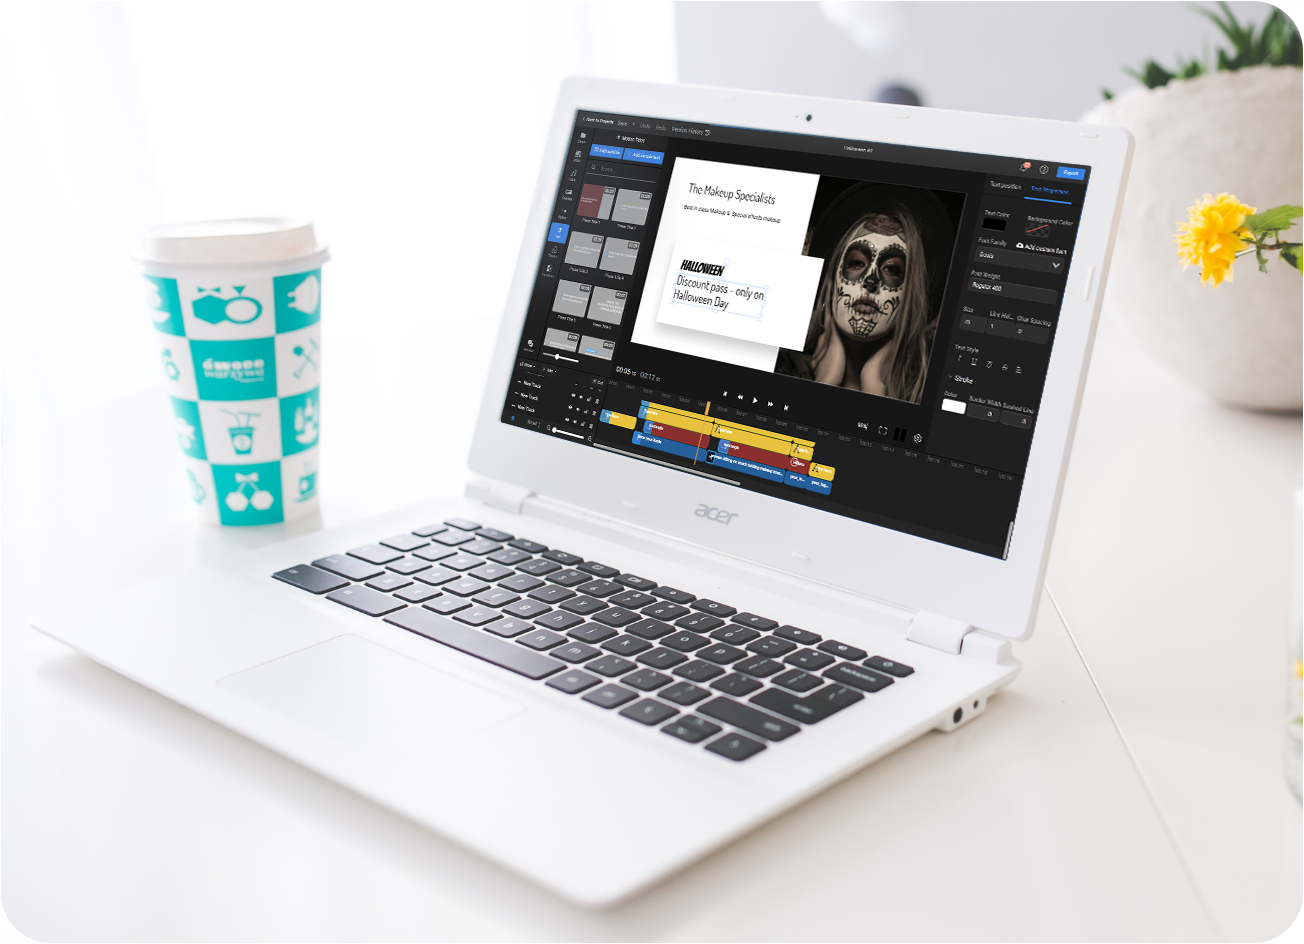
We created Flixier to provide a solution to that! Our online montage maker runs smoothly on any computer and is compatible with all the popular video and picture file types! On top of that, making a video and picture montage with Flixier is as easy as putting together a PowerPoint presentation!
Step 1: Make a Flixier account and upload your media
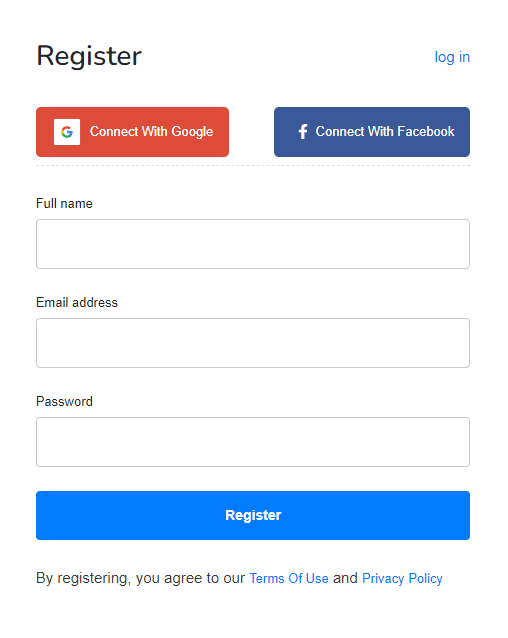
The first step you need to take in order to make a video montage with Flixier is to create a free account. Our video editor is completely online with no downloads or installs, so we use the account to save your projects and videos.
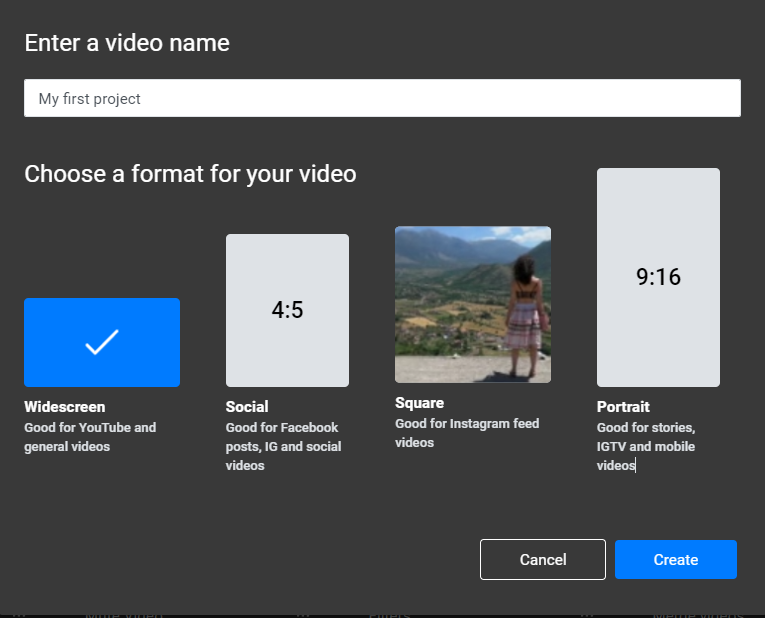
After you’ve successfully created your account, log in and click the Create Project button. Choose the right video shape for your video montage, give it a name and click on Create.
Upload your videos and pictures
You’ll notice a Library tab on the left side of the screen. You can drag and drop videos and photos from your computer over to this area, or you can click the Import button to bring them over from Google Photos, Google Drive, OneDrive, Dropbox and other online services, including Twitch and YouTube.
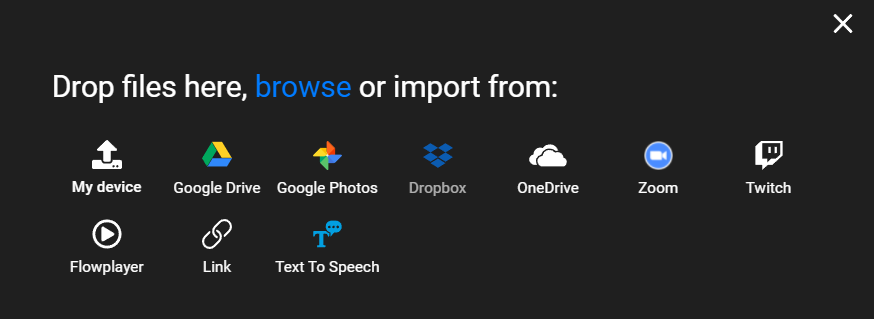
We made sure that Flixier has all the cloud integration you need so you don’t have to worry about transferring everything over to your computer.
After all of your files are present in your LIbrary, you can move on to creating your montage.
Step 2: Putting your pictures and videos together into a beautiful montage
To add videos and pictures to your montage, all you have to do is drag them over from the Library area to the Timeline below. The Timeline is arranged chronologically from left to right, allowing you to decide when things come up on screen and how long they stay there for.
The Canvas area lets you preview your video montage. You can drag things around on the Canvas to change the way they show up on screen.

Transitions
Adding Transitions to your video montages in Flixier is incredibly easy! All you need to do is drag two clips or images over one another on the Timeline so they overlap and then select a Transition that you want to insert there using the drop-down menu.
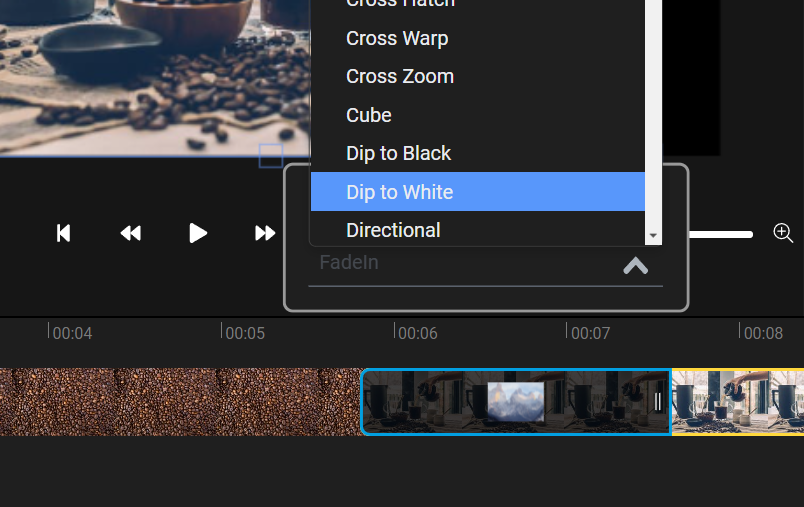
If the two clips that you want to transition between are on different tracks, use the Transition tab on the left to select one and drag it over to the Timeline instead.
You can drag on the edges of a Transition to adjust its timing.
Adding music to your montage
Nothing sets the mood better than a little music! Adding your own background music to a video montage with Flixier is as easy as dragging the music file over to your Library and then adding it to the Timeline just like you would any other kind of media.
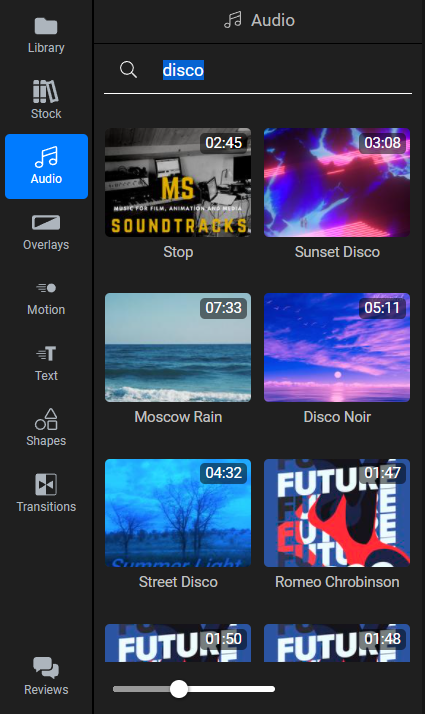
If you don’t have your own music, you can also use the Audio tab to browse through a huge library of free tracks that you can use in your creations as you see fit.
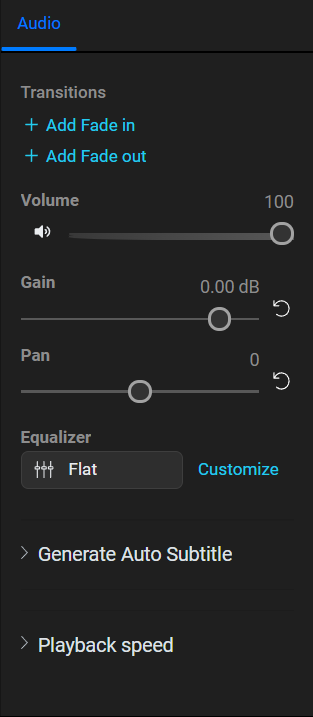
If you want to, you can use the menu on the right side of the screen to make the music fade in and out as well as change its volume or apply an Equalizer (to enhance the bass or the musicality of the track).
Animated text
Do you need to add some text to your montage? No worries! Our animated text library lets you convey information in a stylish and engaging manner! And you don’t need any animation experience either, we’ve taken care of that for you!
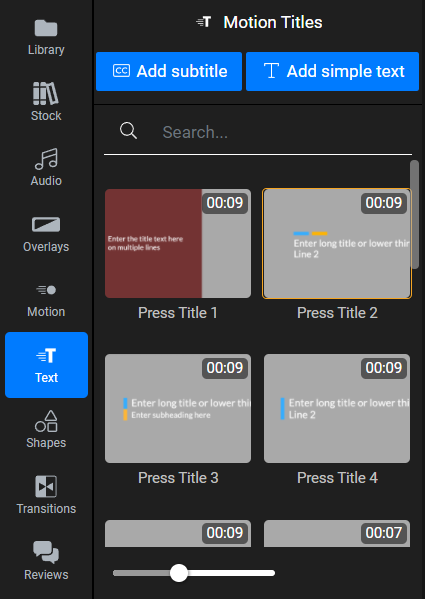
All you need to do to add Motion Text to a montage is go over to the Text tab on the left and drag it over to the Canvas. You can even edit the text, font and colors to make it fit the mood you’re trying to convey with your montage!
Step 3: Download or Publish your video montage
Now that you’re done putting together your video montage with pictures, it’s time to publish it! Click the blue Export button in the top right corner of your screen.
You’ll open up a new menu, allowing you to give your video montage a name and giving you the option to publish it directly to YouTube, Facebook and other online destinations after it’s done rendering.
Speaking of rendering, this is the process that turns your montage from a Flixier project into an actual video file.
Normally, rendering videos can take anywhere from 10 minutes to an hour or more depending on how powerful your computer is, but luckily for you, our online video editor renders anything in 3 minutes or less! That’s because we do all this heavy work on our servers in order to save you time and avoid putting any strain on your system.
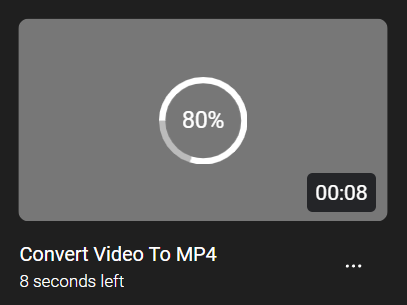
So, click the Export button again to start Rendering your video. In a couple of minutes your video will be ready for you to download and share with the world!
Closing Words
We hope you found this guide helpful! If you’d like to learn more about the things you do with Flixier, check out our Guide Center and the rest of our blog. Or, even better, start using Flixier to put together your own video montage right now!
Dan is passionate about all things tech. He’s always curious about how things work and enjoys writing in-depth guides to help people on their content creation journey.


