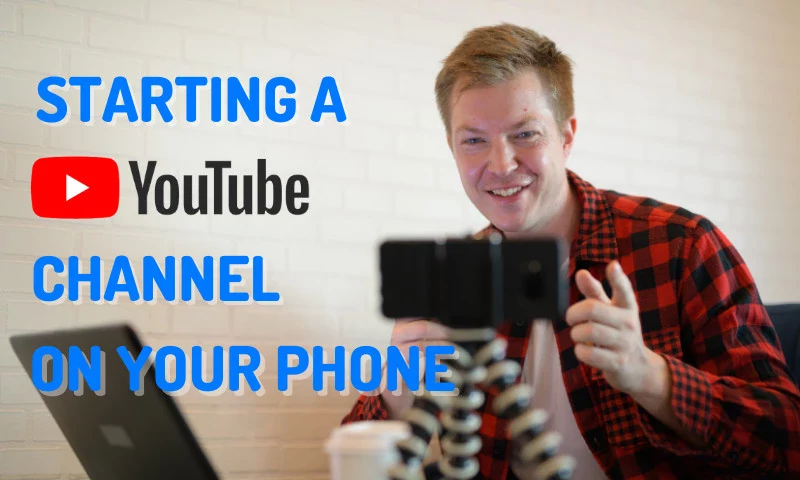
How to Start a YouTube Channel Using Your Mobile Phone
Updated on July 26, 2023

When YouTube first came out in 2005, its tagline was “Broadcast yourself!”.
That sounded great and made it seem like everyone could get their voice heard over the internet. The truth was, however, a little different.
Back in 2005, there were a lot of steps you had to take in order to “broadcast yourself”.
Even if all you wanted to do was a simple vlog, you still had to:
- Get a camcorder
- Record your footage
- Transfer it over to a computer using a memory card reader
- Find something else to do for a few hours because uploading took over your internet connection.
Now, 15 years later, things have changed drastically. We all carry around mobile phones. Our phones’ cameras are all better than any budget camcorder we could have bought back then.
Our phones all connect to both Wi-Fi and 4G and depending on where you live, your data connection might even be faster than the Wi-Fi you get at home.
We’ve all gotten used to consuming video content such as YouTube or Twitch streams on our phones.
A month back, we made a blog post here about how you can start streaming to Twitch using your mobile phone, But did you know it’s also possible to start a YouTube channel using your phone?
How to create your YouTube channel
1. Log in with a Google account
First off, you need to open the YouTube app on your phone and tap on the little portrait icon in the top right corner of your screen.
That will take you to a log in screen. Tap the big Sign In button and then tap on Add Account.
Here, you can create a brand new Google Account or log into an existing one.
If you already have a Gmail or YouTube account, simply log in with that. If you don’t, then click on Create Account and follow the on-screen instructions to create a new account.
2. Create your channel
After creating/logging into your account, click the icon in the top right corner again.
Then, tap on the button that says Your Channel.
It should take you to a screen that prompts you to enter the name that you want to use your YouTube channel under. Don’t worry too much, you can change this later.

Click on Create Channel and you’ll be taken to your brand new channel page. There won’t be much on it now, but we’re going to change that!

How to make your first YouTube video
Now that you have a channel, it’s time to show you how to get your first video out there.
Back out of your channel page and click on the button with the camera icon in the top right.
That will take you to the Upload Videos screen.

Here, you can choose to record a new video, start a YouTube live stream or upload an existing video from your mobile phone.
NOTE: In order to live stream from mobile, your channel needs to have at least 1000 subscribers. If you tap on the GO LIVE button, you’ll be met with a message stating that you do not meet the eligibility requirements:

Since the GO LIVE option is not available to us yet, choose the RECORD option to record a brand new video.
Make sure you Allow YouTube to record Audio and Video on your phone when it prompts you to, or else the option obviously won’t work.
Publishing your YouTube video
After you’ve finished recording your first video, click on the little check mark button in the bottom right to proceed to the next step: publishing it.
You’ll be greeted by this screen which has a couple of fields you need to fill in:

First, you’ll need to give your video a title. We’ll talk more about how to come up with a good title later in the article. For now, just make sure that it’s relevant to the content.
Next, you’ll need to add a description. Just like with the title, having a good description is crucial to getting your video to show up in the search results. We’ll give you some tips on how to write a solid description later down the line, but for now just enter a solid one and move over to the next section.
After you’ve typed in a description, you’ll need to choose whether you want to make your video Public, Unlisted, Private or Scheduled:
- Public videos can be searched for on YouTube and viewed by anyone.
- Unlisted videos are only visible to people that have the link, meaning you can share the link with your friends if you want them to see it. But be careful, there’s nothing stopping them from sending the link to other people as well!
- Private videos can only be viewed by people you manually approve.
- Scheduled videos are clips that will become public at a scheduled time. Meaning that if you want your video to appear to people next Tuesday at 8, you can schedule it to go live at that time.
Choose whichever privacy setting you want for your video and move on to the next step: choosing a location for your video.
This step is optional. It lets YouTube know where your video was recorded and allows people to find it by searching for the location name or entering phrases such as “videos filmed in Texas”.
Whether or not this will be useful to you depends a lot on the content you’re trying to create. For example, if you’re a travel vlogger who makes their videos on location, then it could definitely be useful for discovery.
Next up, you have the option to add your video to a Playlist. Having related videos grouped into playlists will definitely help you get more views, since videos from a playlist automatically play after each other.
Since this is your first video, we won’t need this option, but I definitely recommend experimenting with Playlists after you post some more videos to your channel.
Trimming your video
If you scroll back up, you’ll also notice a little timeline under your video. You can drag on the edges of it to trim portions from the beginning or end of your video.

This is obviously a very basic editing solution, but it can come in handy when you need to get rid of some dead air.
Once you’ve trimmed your video and filled out all the necessary fields, click on the blue Next button in the top right corner of the screen.
Selecting an audience
This next step is required and extremely important.

YouTube needs to know if your video is meant for kids or not. Selecting the Yes, it’s made for kids option will make your video visible on the YouTube Kids app.
YouTube takes this very seriously, so unless you’ve specifically made a video targeting a very young audience and are 100% sure the video si safe for children to watch, then we recommend choosing No, it’s not made for kids since it will help more people discover your video and won’t risk getting your video taken down.
The next option asks whether or not you want to restrict your video to viewers over the age of 18. Restricted videos are going to be harder to monetize and will require your viewers to log in order to watch them, but once again, the appropriate age restriction can keep your video from being taken down.
Consider the content of your clip and the language use and make the appropriate choice.
After you’re done filling out all the choices, click on the blue Upload button in the top right to start uploading your video to YouTube!
This should be pretty fast, but depending on the length of your video and the strength of your internet connection, it could take a few minutes. If you see it going too slow, consider connecting to a Wi-Fi network or moving closer to your router.
Editing your Channel Art and Thumbnails
If you’ve been on YouTube for a while, you already know that constantly uploading high quality videos is only a part of owning a successful YouTube channel.
If you want your channel and your videos to stand out and get people’s attention, you’re going to need to create custom thumbnails for your videos, as well as create some nice channel art (meaning the icon displayed next to your channel name and the banner that’s shown to people when they visit your channel).
Normally, you would create these by using a photo editing program, the most common of which is Adobe Photoshop. Since you’re on a mobile phone, however, Photoshop isn’t really an option.
Don’t worry though! There are plenty of free photo editing apps that you can use to create your channel art. The ones we’re going to recommend in this article are:
You can use any combination of these to create beautiful art for your channel. We especially recommend using Canva for thumbnails and logos, since it comes with a huge variety of templates, shapes and stock images to help you make stylish thumbnails that stand out.
Tips for making great thumbnails
When designing your thumbnails, make sure they are:
- Colorful - it’s generally believed that solid colors such as red, yellow green and blue make for the best backgrounds when making thumbnails.
- Representative - Your thumbnails need to show people what they can expect from the video. If they click on the thumbnail but the video is about something else, they’re going to leave quick and YouTube will punish this behavior by showing your video to less people.
- On-brand - Having a consistent style and color scheme to your thumbnail can help people identify your videos and make them stand out.
Lastly, it’s also been shown that thumbnails that include a face with a strong reaction and contain a still from the video typically get more attention from users. Especially if you’re filming yourself on your phone, it’s worth including your face in the thumbnail since it will probably increase the Click-through rate of your video.
Modifying the channel art on your phone
Now that you’ve made your thumbnails and banners, you might be wondering how to add them to your videos.
Well, the sad truth is, you can’t. At least not from the YouTube app.
Unfortunately, Google does not give users the option to modify their thumbnails or channel art using the official app, but there is a workaround:
- Open the web version of YouTube in your mobile phone browser.
- Sign in.
- Click on the profile icon and select Desktop. This will take you to the desktop version of YouTube. It will obviously be a little clunky using it on your phone, but at least you’ll have access to the full range of channel management options.
- From there, click on the three lines in the top left and go to Your Videos.
- Then, click on Customize Channel. This lets you change your upload a new banner for your channel, add links to your social media or website and customize the channel further.
Modifying thumbnails on your phone
To change the thumbnails, follow the same steps as above. Instead of clicking on modify channel, click on Manage Videos.
From the list of uploaded videos, click on the three dots next to the video title and select Edit Video. This will allow you to upload your own custom thumbnail, as well as give you access to some more options that are not available inside the app (such as uploading subtitles).
Can I edit YouTube videos on my phone?
After posting on YouTube for a while, it’s only natural that you’d be looking to spice up your content with a little bit of editing.
Unfortunately, while there are plenty of mobile video editing apps available on the Play Store and App Store, none of them are really powerful enough to allow you to create the kind of videos you’re probably used to seeing on YouTube.
If you have access to an older computer or laptop, however, we recommend editing your videos on that, using Flixier. Our app is cloud-powered and runs in the browser, which means it will run smoothly even on computers that wouldn’t be able to run things like Adobe Premiere.
And if your laptop is out of storage space, you can import your files directly from YouTube, Google Drive, OneDrive or Dropbox, so you don’t have to worry about copying anything to the computer itself.
You can use Flixier to add transitions, create intros, add Calls to Action or insert images and videos to make your content more snappy and engaging!
Once you’re done, your video will be rendered in minutes and exported straight to YouTube, once again allowing you to save time without requiring any computer upgrades whatsoever!
Closing Words
Thank you for reading so far! We know this was a long guide, but we hope it helped you get your YouTube channel up and running. If you enjoyed this article, please consider checking out the rest of our blog and subscribe to our YouTube channel for more step-by-step tutorials!
Dan is passionate about all things tech. He’s always curious about how things work and enjoys writing in-depth guides to help people on their content creation journey.