- Home
- Blog
- Social Media
- How to Stream Games on Twitch From an Android Phone
How to Stream Games on Twitch From an Android Phone
Updated on June 1, 2025
In recent years, mobile gaming has seen a massive increase in popularity, with major releases such as Fortnite, PUBG, Call of Duty and even EvE Online getting mobile versions. Phones are also becoming more and more powerful each year, with more RAM and features such as high refresh rate screens and cooling systems becoming the norm.
If your phone is your main gaming platform, it’s only natural that you might want to stream your gameplay on Twitch as well. After all, PCs and consoles have been doing it for years, so why not phones?
This article is going to show you how to easily start streaming your mobile gaming sessions on Twitch. All you need is your phone and an internet connection.
A bonus tip
Something that’s not talked about often in these guides is that you don’t have to limit yourself to streaming! Browser video editors like Flixier make it easy for you to turn your Twitch streams and highlights into YouTube videos that you can use to promote your stream on different platforms! Our Twitch integration means that you won’t have to worry about wasting time and precious storage space with hour-long VOD downloads. Just log into Flixier, link your Twitch account and you’re good to go!
Do you think your PC/laptop might not be powerful enough to edit videos on? There’s no need to worry! Our video editor is cloud-powered, which means it renders videos online on our servers, so it won’t put any strain on your computer and you don’t have to worry about long render times.
This also means that Flixier requires zero downloads or installs in order to use! You can open up your favorite browser, log in and start editing your Twitch streams from any platform, be it Windows, Mac, Linux or even ChromeOS!
Now that we’ve got that out of the way, let’s return to our guide and show you the secrets of mobile game streaming:
Forget about the Twitch app
Don’t get us wrong, we all enjoy watching Twitch on our phones, and the official Twitch app is by far the best way to do it. When it comes to streaming mobile games, however, the app is not going to help.
Despite the feature being requested for years, Twitch still doesn’t offer their users the option to live stream their phone screens using the app. It’s definitely possible to use it for an IRL stream, since the app allows you to stream footage from either your phone’s front or back camera, but that’s about it.
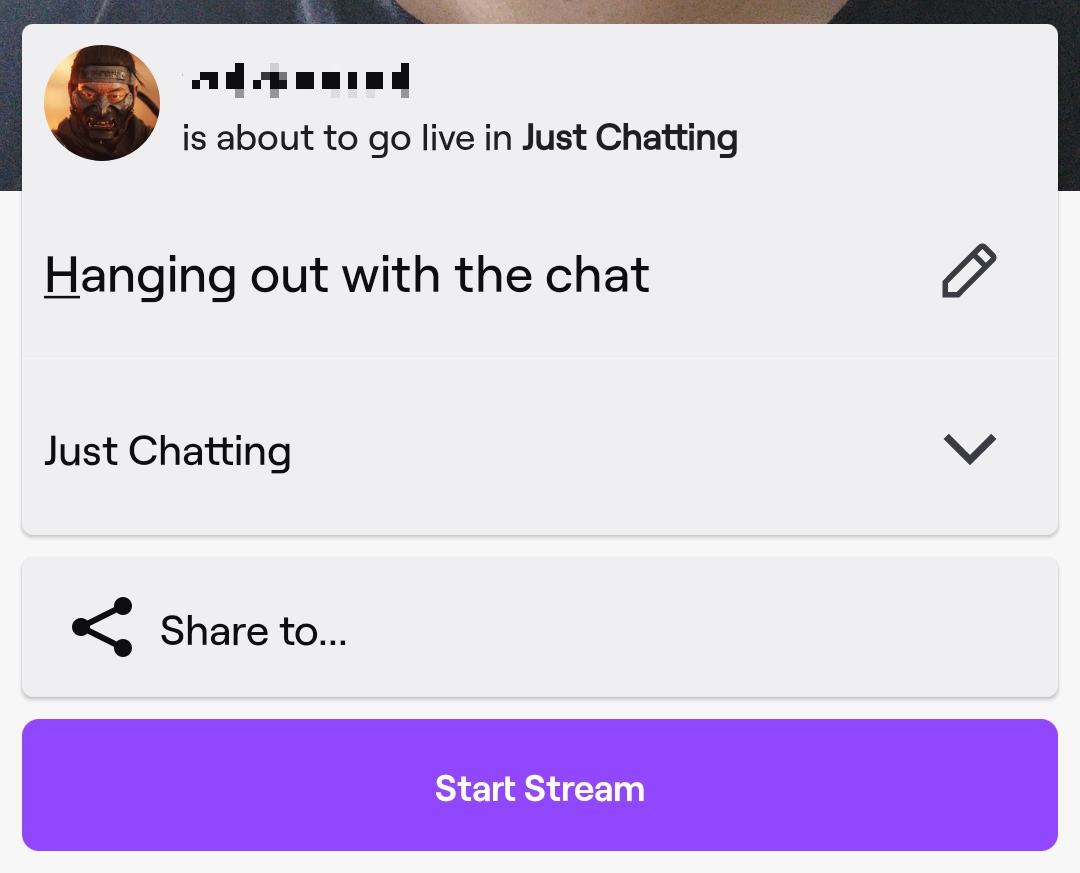
If you want to stream actual gameplay from your phone, you’ll have to use a dedicated streaming app. The best option for this is the Streamlabs app and luckily, it’s available on the Google PlayStore for free.
Step 1: Install the Streamlabs app
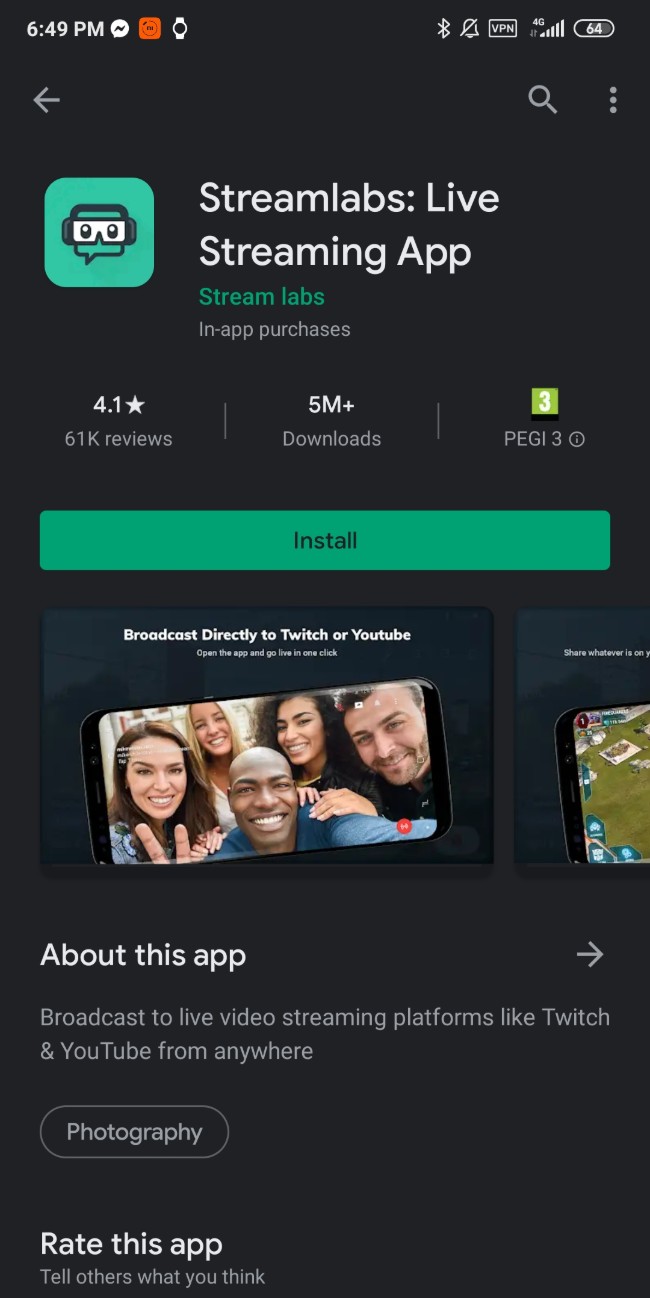
The first step in your journey as a mobile games streamer will be to install the Streamlabs app. We’ve included a picture of the app on the PlayStore below so that you don’t accidentally download a clone, although at the moment of writing this article there don’t really seem to be any.
Step 2: Log in with your Twitch account
When you first open the app, it will prompt you to log in with either a Twitch, Facebook or YouTube account. That’s because Streamlabs allows you to stream to more than just one platform.
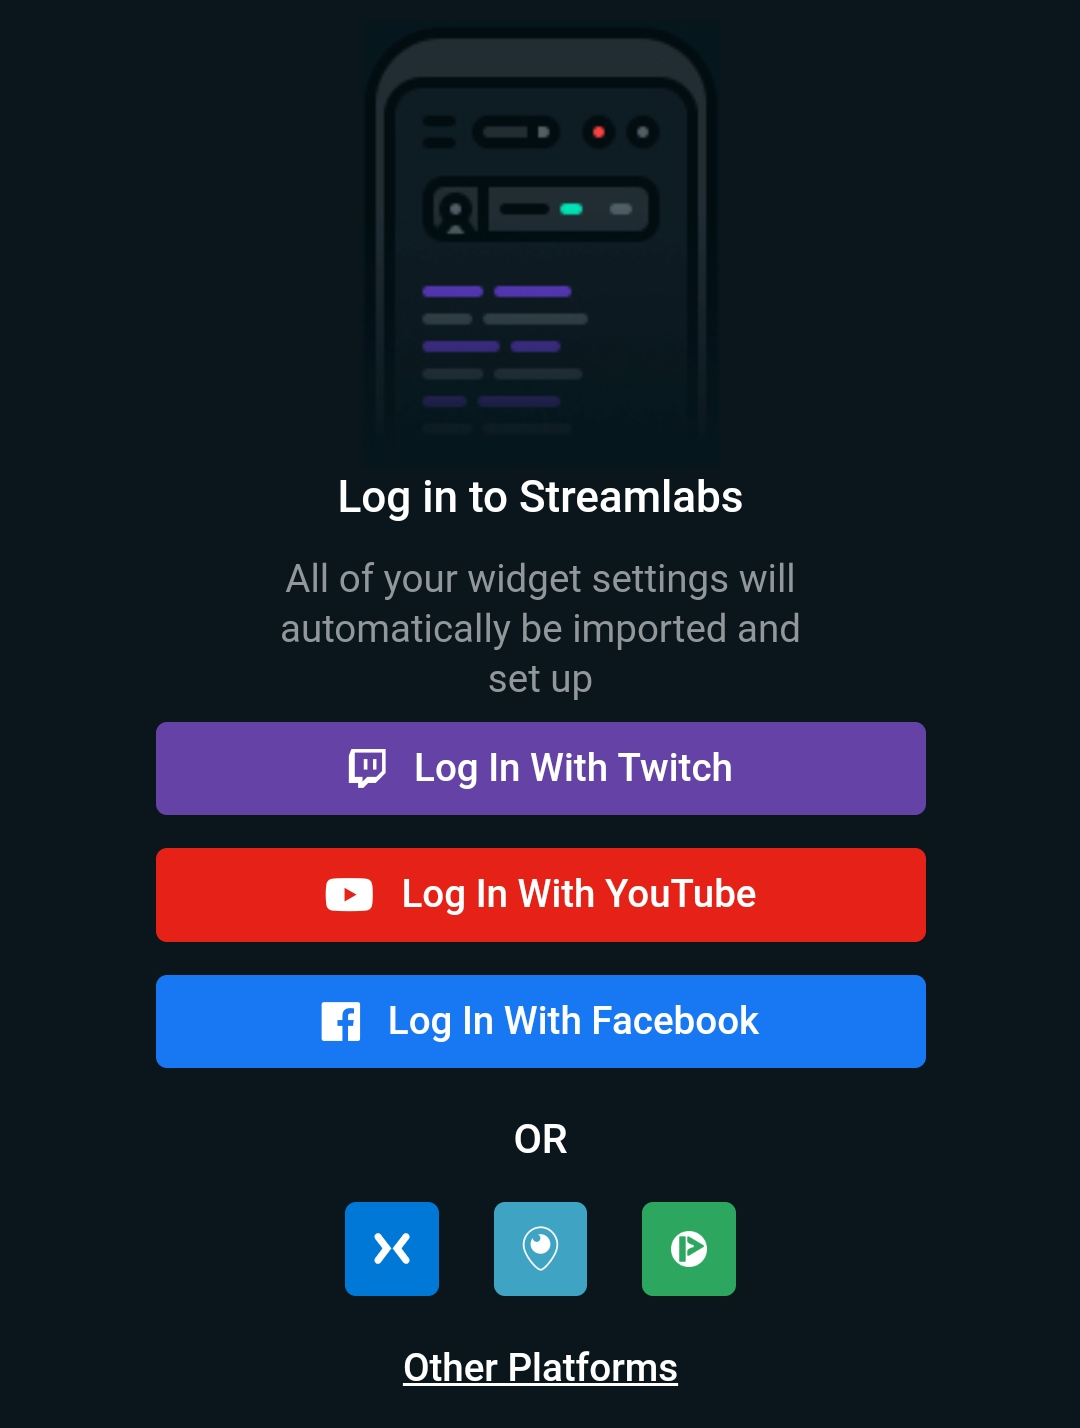
This article, however, focuses on Twitch streaming, so if you want to follow along, choose the Log in with Twitch option.
You will be prompted with the usual Twitch log-in screen. Type in your username and password and then enter the confirmation number sent to you by Twitch.
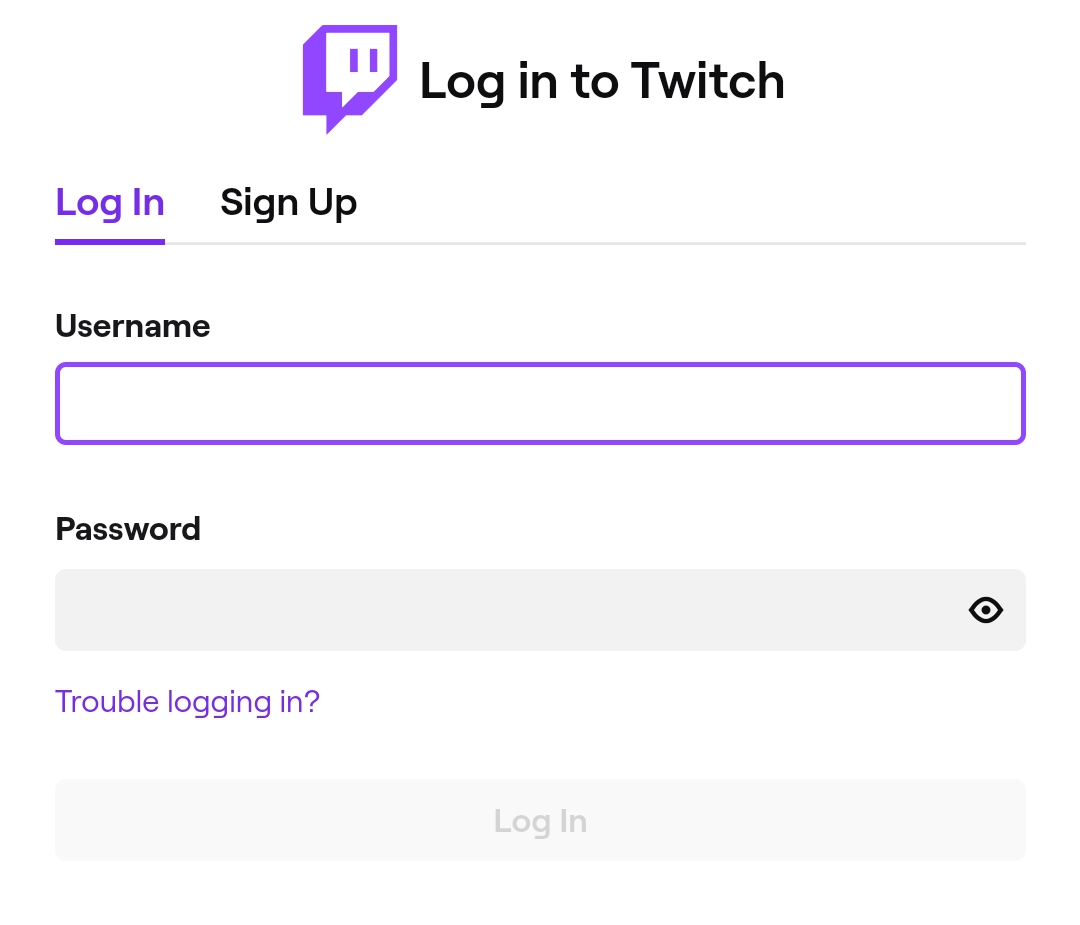
After your log-in is successful, you’ll be prompted with a screen asking if you trust Streamlabs and asking you for the necessary permissions. You’ll need to scroll down and click on Authorize in order to continue using the app.
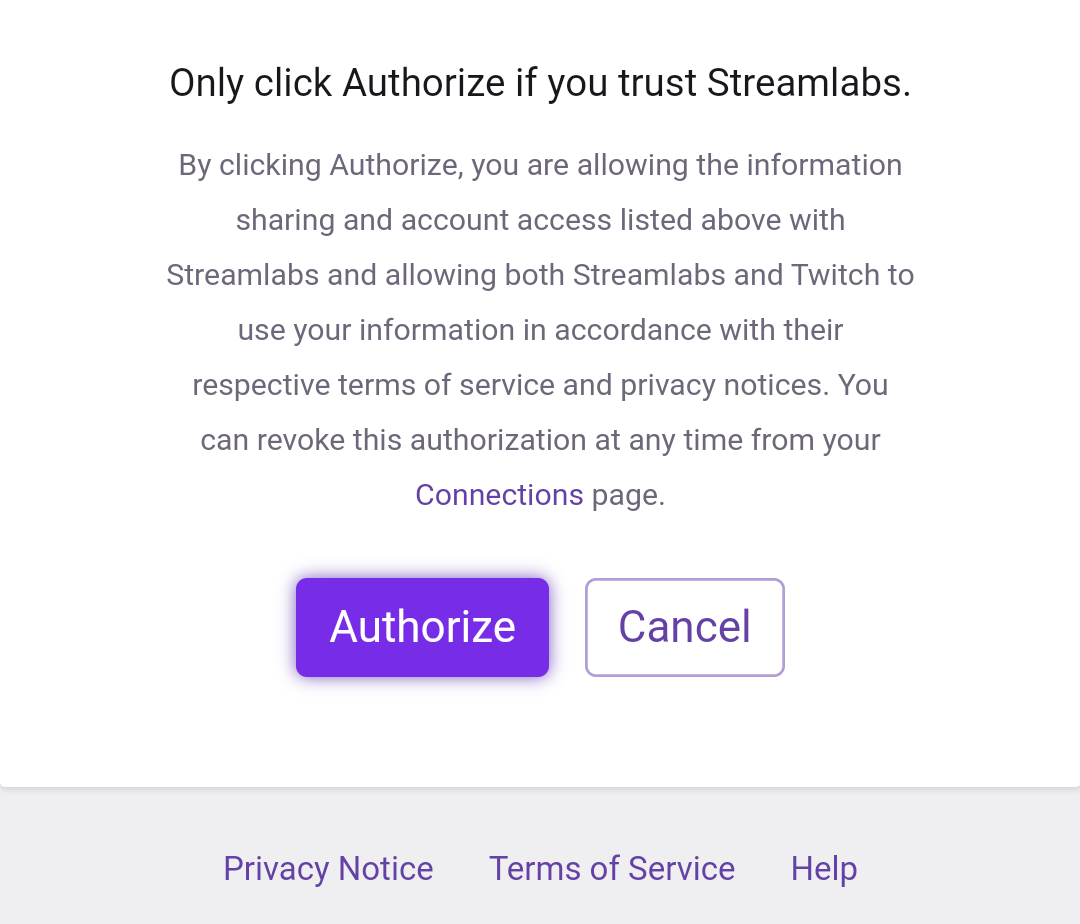
Congratulations! You’ve successfully logged into Streamlabs using your Twitch account. The next step is to configure your camera, audio and video sources.
Step 3: Choosing a camera and a screen source
After logging into your Twitch account, the app changes orientation to landscape mode and presents you with this screen:
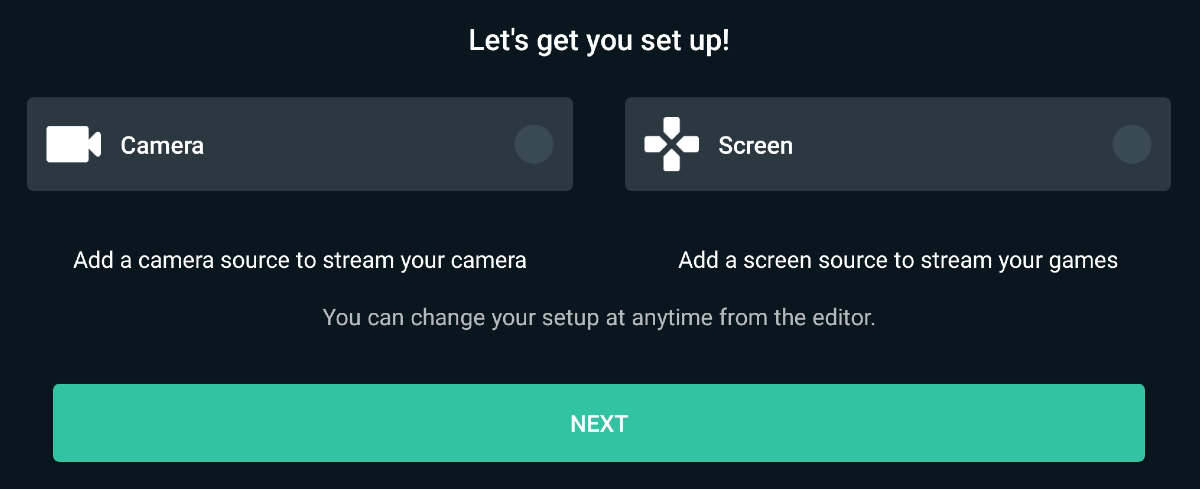
Make sure both options are checked if you want to have a facecam during the stream. If you don’t want your face visible, just leave the Camera option unchecked. Don’t worry too much, you can change both of these settings later anyway.
The next screen presents you with a bunch of different widgets to choose from:
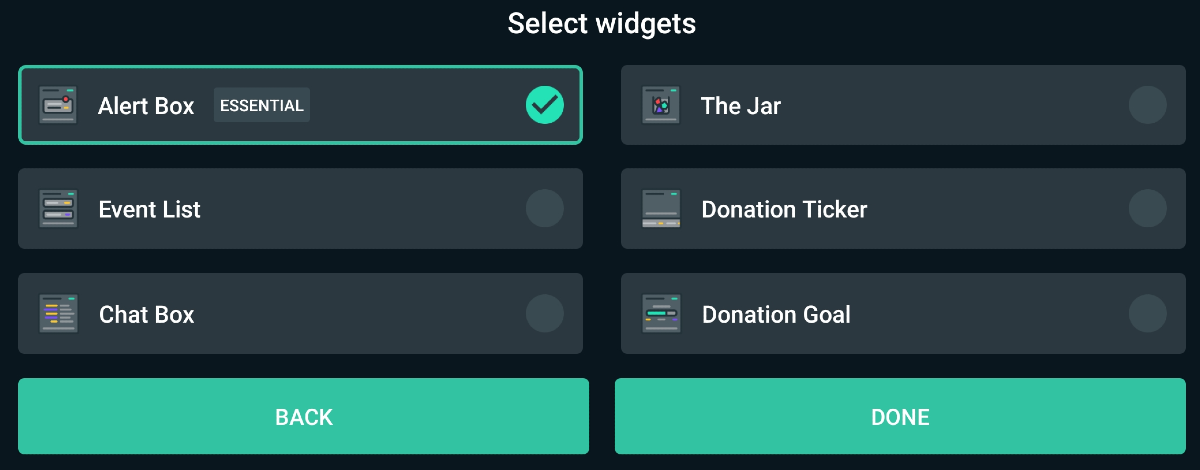
Whether or not these are useful to you depends strongly on what kind of stream you’re doing. If you’re a beginner, we recommend leaving all these unchecked, with the exception of the Alert Box (the one marked as Essential).
You’ll be able to add more of these later once you become more accustomed to streaming from your mobile device.
Step 4: Permissions
Now, depending on which version of Android you’re running, you’ll be greeted with a pop-up informing you that Streamlabs will start capturing everything that’s being displayed on your screen.
This is perfectly normal, since that’s how the app is able to stream your gameplay online. Click Start Now (and feel free to check the “Don’t show again” box if you don’t want to encounter this warning every time you open Streamlabs).
If you’ve added a Camera Source during the previous step, Streamlabs will also ask you for permission to take pictures and record video. You need to choose the Allow option if you want to be able to include a facecam.
You will have to do this a couple more times in order to give the app permission to record audio or display a Twitch chat bubble over other apps (so you can reply to the chat while you’re playing games without having to switch between apps).
Step 5: Setting up your stream layout and going live
Now that the app has all the necessary permissions, it’s time to configure it so that your stream looks the exact way you want it to.
NOTE: If you’ve checked both the Camera and Screen options in the Choose Sources menu, you might be surprised to see that your phone camera is currently taking over your screen and covering up the gameplay. The following steps will show you how to fix that!
Click on the three lines button in the top left corner of your screen. A menu will open up. Tap the Editor button (it should be the first option on the left).
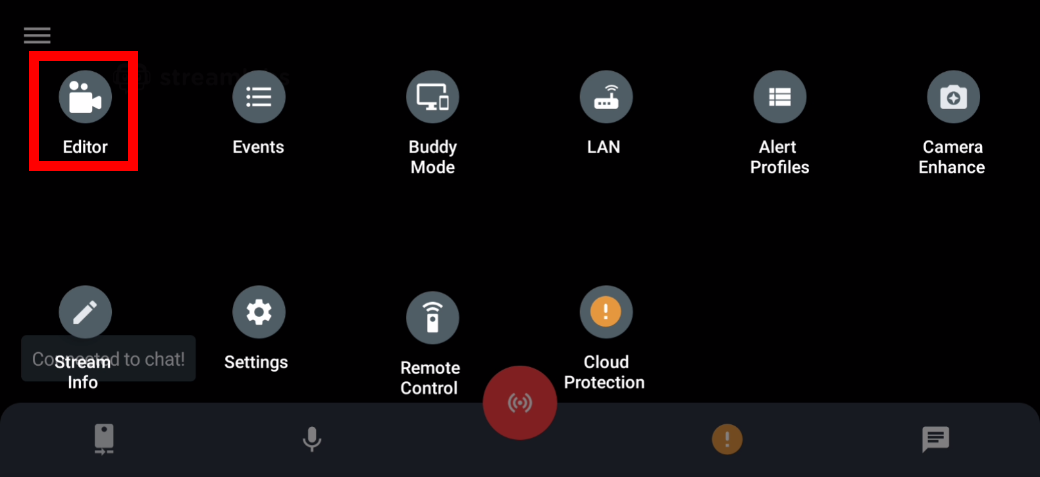
The Editor allows you to choose the elements that you want to be present on screen and move or resize them according to your preferences and needs.
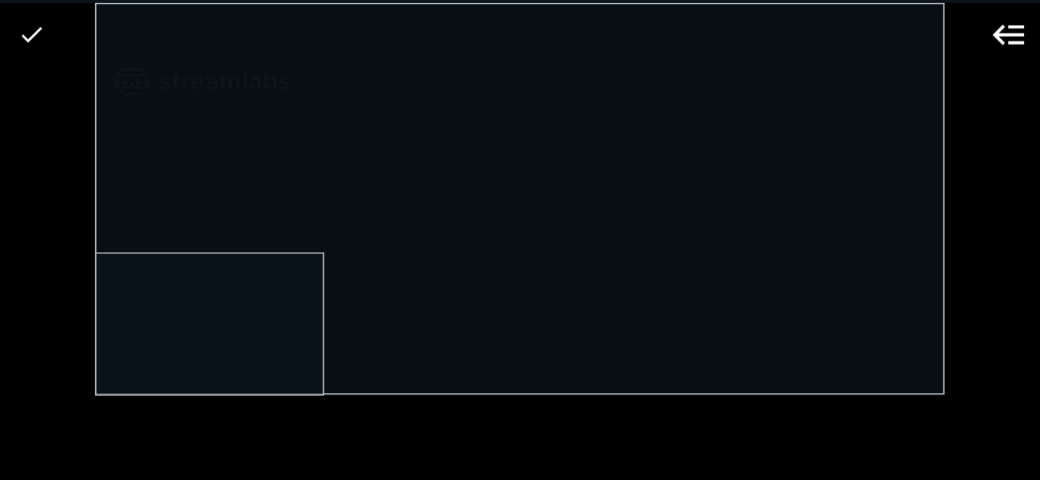
Each of the rectangles you see on screen is called a “Layer” and represents a different element of your stream. In my case, the big square that makes up most of the background is the screen recording, while the smaller one in the bottom left is my camera.
This being the first time you use streamlabs though, your editor screen might look different. To change it, press on the button in the top right corner.
This will open up the Layers menu. Here, you should have a Camera layer and a Screen layer. The layers at the top will be displayed on top of the other layers, so drag on the three lines next to the camera layer to move it all the way to the top.
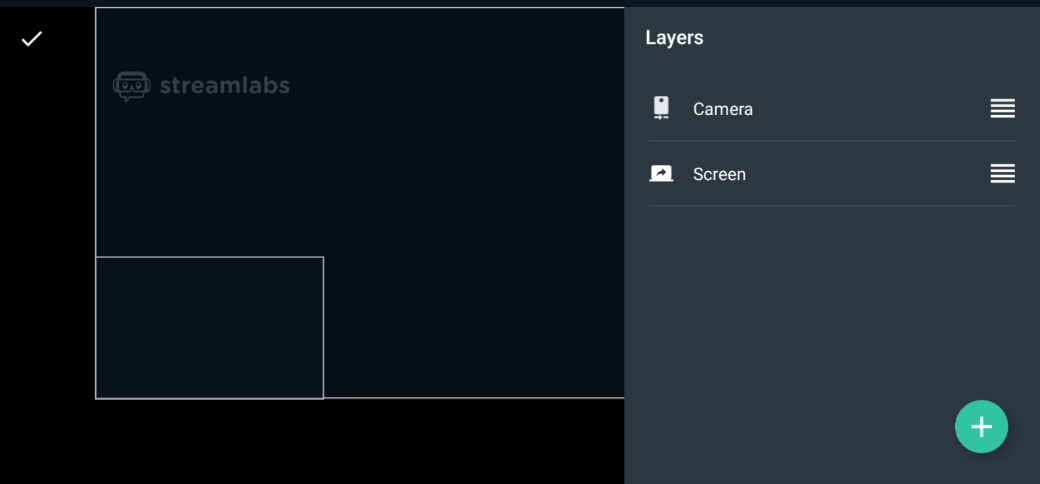
If you want to change the size of one of the layers, drag on the white dots at the layer margins. This will allow you to resize it as you see fit. You can also drag it on the screen to position it wherever you want.
Now, resize your camera layer so that it doesn’t take up your whole screen and move it wherever you want your facecam to appear on the stream. I like to have mine in the bottom left corner.
You should now be able to see your Screen layer. Make sure to enlarge and position it so that it takes up the rest of the screen.
That's it! You now have a basic stream layout! To start streaming, just press the button on the top left to go back to the preview screen and then tap the big red button in the center to go live! You can use the same button to go offline.
A few more things
At this point, we’ve covered the basics of streaming Android games on Twitch using the Streamlabs app, but there’s still a few more things left to discuss:
1. Make sure to edit your Stream Info
If you open the menu, you’ll see a stream Info button just below the editor. Tap on it and fill out your status and the game you’re playing. This will make it easier for people to find your livestream on Twitch.
2. Don’t forget to turn on Do Not Disturb mode
Before you start streaming, you’ll probably want to turn on Do Not Disturb mode on your phone. This will stop notifications from your Facebook, instagram and messaging apps from popping up on screen and being displayed live to your audience.
Your viewers won’t stick around for long if the gameplay is constantly being covered up by random notifications, not to mention that you might not want your private messages to be on display for everyone to see.
3. You can customize your stream even further using the Layers menu
The Layers menu that we used to make our initial stream layout also has a green plus button. Tapping on it will allow you to add even more Layers to your stream, from Widgets to Text and Images.
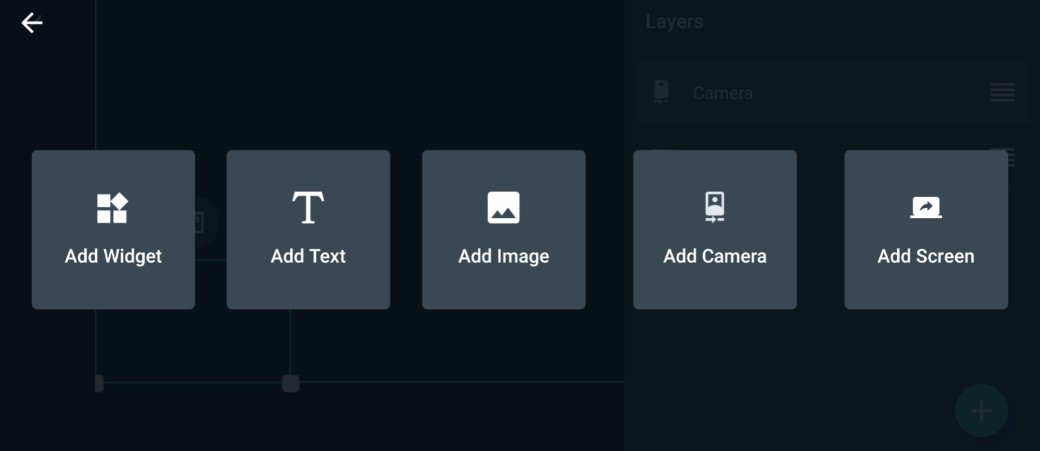
You can use this to further customize your stream and achieve a professional look that will even rival that of traditional PC streamers.
4. Play around with the widgets
One of the best parts of using the Streamlabs app to stream mobile games are the widgets. There are over a dozen of these and each of them can be used to engage your users more and motivate them to subscribe, donate or even to display banners from your sponsors.
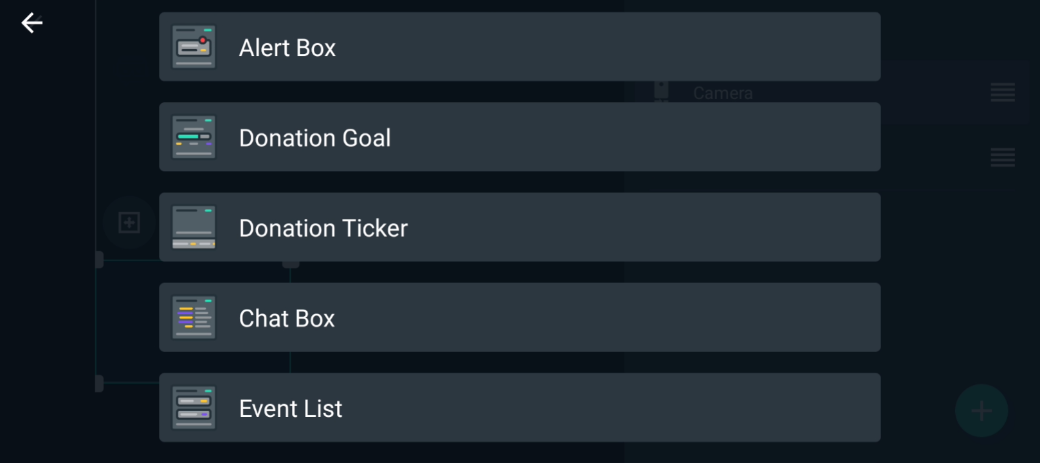
The widgets are also useful for helping you keep track of what’s happening on stream, so make sure to experiment with them and take full advantage of the features that they offer.
5. Upload your streams to YouTube
If you want to grow faster and gain exposure even after your streams are done, check out Flixier! Our cloud-powered video editing app lets you edit your stream footage and export it to YouTube in a matter of minutes!
If you want to learn more about using Flixier to turn your stream footage into quality YouTube content, feel free to check out the guide we wrote on the topic a while ago.
Closing Words
Thank you for making it this far! We know this was a long post, but we hope it helped you gain a better understanding of how to use Streamlabs and start your first mobile games stream!
For more guides about streaming and video creation, feel free to check out our YouTube channel! If you want to start your YouTube journey right now, you can start editing right now!
Dan is passionate about all things tech. He’s always curious about how things work and enjoys writing in-depth guides to help people on their content creation journey.

How to Start a YouTube Channel Using Your Mobile Phone
Who says you need expensive cameras and gear in order to start a YouTube channel? Nowadays, our smartphones can take better videos than most budget camcorders could 10 years ago. Nothing can stop you from "broadcasting yourself", so grab your phone, connect to the Wi-Fi and learn how to start a YouTube channel from your mobile phone!
How to Stream on Twitch Using Your PS4 With NO Capture Card
This article will show you how to start streaming your game sessions on Twitch straight from your PS4 in only a few minutes, without the use of a capture card, a computer or Remote Play.
How Uploading Your Twitch VODs to YouTube Can Make You a More Successful Streamer
This article is going to help you achieve growth as a Twitch streamer by promoting your content on the YouTube platform. By reading it you will learn how to enable Twitch VODs, the benefits they bring and how you can edit and export Twitch VODs to YouTube. It also contains tips and tricks on how to edit your past stream recordings in order to turn them into proper gaming videos for YouTube.


