- Home
- Blog
- Social Media
- Putting Filters on Videos Will Make Your Videos More Entertaining
Putting Filters on Videos Will Make Your Videos More Entertaining
Updated on July 24, 2025

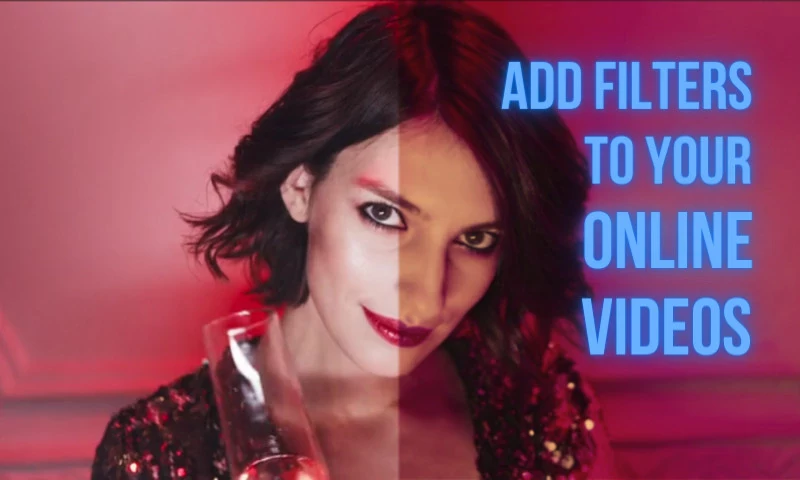
Video filters have been a common staple of online videos for a while now, and for good reason! They’re a quick and easy way to make things more expressive and entertaining!
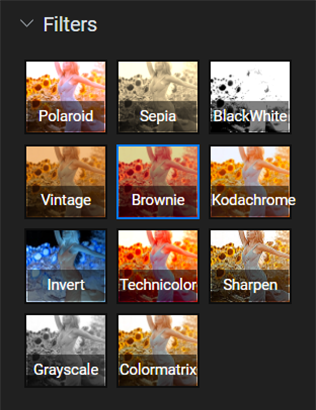
Using a video editing filter is cheap (oftentimes free), easy to figure out and can really help set the mood, even if the video itself doesn’t quite feature Hollywood level directing (which, let’s face it, online videos often don’t). If you’re trying to sell the idea of something taking place in a certain time period, a Vintage, Technicolor, Sepia or Black and White filter will help you do that. They can also be used pretty successfully to emulate different photo technologies, like Polaroid or Kodachrome or just to breathe some life into your video!
With that in mind, you might find yourself wondering:
How can I apply a filter to my video?
There are many ways to apply filters to videos online, but the faster, easiest one is to use an online video editor like Flixier. The intuitive interface makes it easy for anyone to do this without any previous video editing experience and the fact that it’s cloud powered means that it won’t put any strain on your system and will run on anything from Windows to Macs and Chromebooks.
So, let’s go through the steps that you need to take in order to apply a filter to your video with Flixier.
To start, create a free Flixier account. Once you’re logged in, click the big Create Project button, give your new project a name and select the appropriate format (Aspect Ratio) for your video.
You’ll notice there’s a Library tab on the left side of the screen. This is where you need to have all the media that you’re going to use in your projects. You can drag your video over to the Library tab, or click the Import button to bring it over from online sources like Google Photos, Dropbox, or even Twitch and YouTube.

After your video is in your Library, drag it down to the Timeline at the bottom of the screen (or double-click on it). Select it, and go to the Color tab of the right-side menu. Here you’ll be able to choose from more than 10 free video filters. To apply one, all you need to do is click on it.

Once you’ve applied your filter, you can click the Export button to render the final video and save it to your computer or publish it to YouTube, Vimeo or other online destinations. All of the rendering is done on our servers, so your video will always be ready in under 3 minutes, no matter what computer you’re running Flixier on. In fact, you can even close your web browser and you’ll be notified via email once your video has finished rendering.
Now that you’ve seen how easy it is to apply filters to your videos, why not give it a shot yourself? Create a free Flixier account and start adding filters to your videos now!
Dan is passionate about all things tech. He’s always curious about how things work and enjoys writing in-depth guides to help people on their content creation journey.


