- Home
- Blog
- Educational Videos
- How to Make Khan Academy Style Videos
How to Make Khan Academy Style Videos
Updated on June 1, 2025
Table of contents
- What you need to make Khan Academy style videos
- What microphone is best for online teaching?
- What drawing software do I use?
- What drawing tablet should I purchase?
- How do I hook the graphics tablet up to my computer?
- How do I create my virtual blackboard and start drawing?
- How do I record the actual video?
- Closing Words
If you ever tried to learn anything math or physics-related over the internet, you’ve undoubtedly stumbled upon Khan Academy.
What started as one man making videos to tutor his younger cousins and extended family over the internet quickly became one of the biggest and most comprehensive online educational resources, with courses on topics that range from math to programming, finance, and history.
What makes Sal Khan’s videos so special, though (other than his vast knowledge and his knack for breaking complicated subjects down into easily understandable chunks) is the way he uses the medium to deliver information.
Rather than showing us simple ‘talking heads’, Khan Academy videos turn the computer screen into a virtual blackboard and mimic the way we’re used to learning in school. Being able to actually see the math being done in real time along with the explanations obviously makes it a lot easier to understand.
With the recent pandemic turning online teaching and distance learning into the new normal, you might be wondering how you can make your own Khan Academy style videos for your own students.
We’re here to teach you just that!
What you need to make Khan Academy style videos
To make your own Khan Academy style videos, you need to have four things:
- A microphone to record your voice (the one built into your laptop might be able to do the job but will likely be too quiet and muddy to do a good job).
- Some free drawing software to serve as a blackboard (preferably one that supports ‘layers’. We’ll give you some suggestions in the article below)
- Something to let you ‘draw’ on the screen. If you don’t own a two-in-one laptop with a touchscreen, a cheap drawing tablet (like the ones made by Wacom or Monoprice) should do the trick.
- Screen recording software. This will allow you to record your screen and voice so you can share your video. If you only want to do live lessons, you can forget about this since you’ll be sharing your screen over Zoom or Google Classroom instead.
What microphone is best for online teaching?
We’ve already covered the topic of choosing microphones for instructional videos or online teaching many times on our blog, so if you’re looking for some more detailed explanations and a purchase guide, you should refer to the microphone section of this article instead.
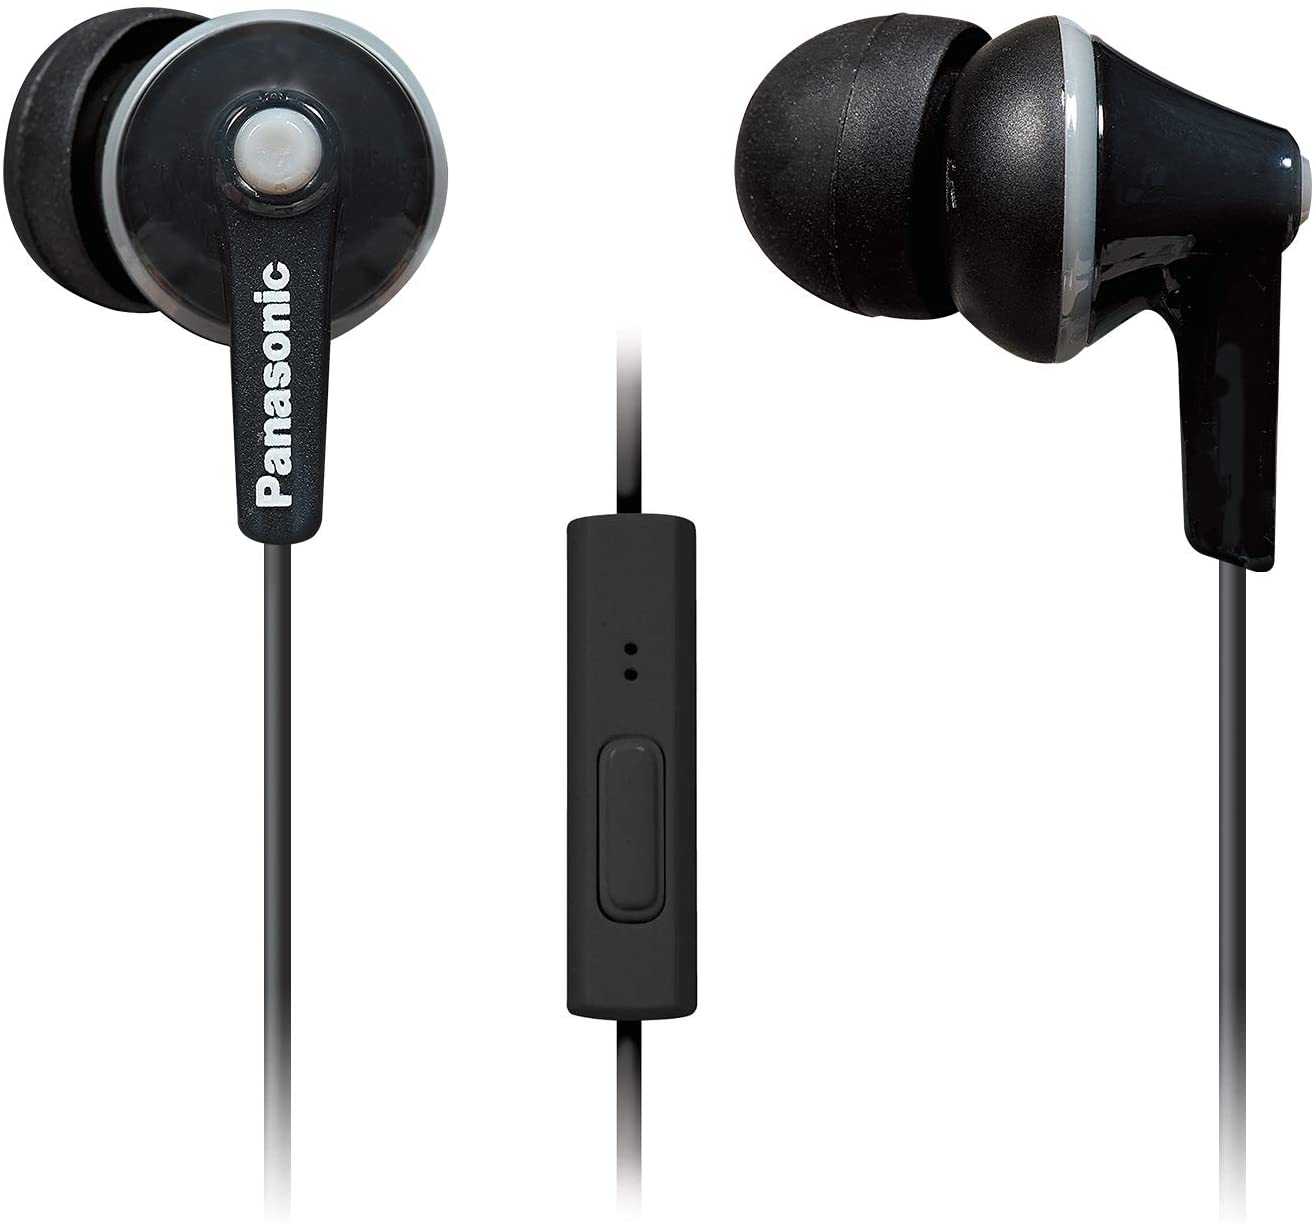
If you’re in a hurry and just looking to learn the essentials, here’s what you need to know: anything is going to be better than your laptop’s built-in microphone. If you’re on a very tight budget, go for a cheap $10 mobile phone headset. The Panasonic ErgoFit is a solid budget choice.
If you have up to $50-$100 dollars to spend and want to buy a dedicated microphone (which would be the recommended way of doing things for the best quality), start looking for a “USB cardioid dynamic microphone”.
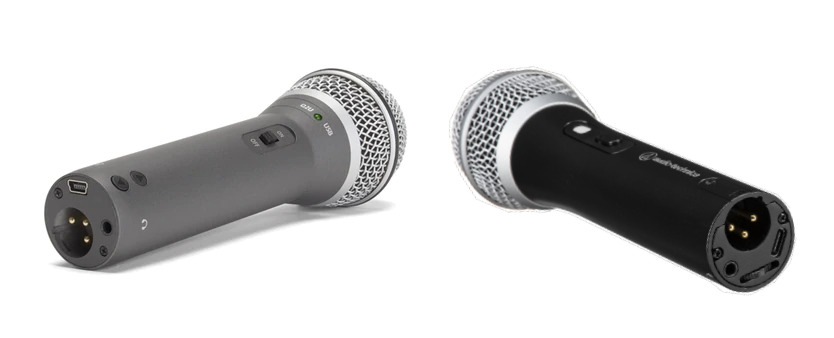
USB means you can plug it straight into your computer. “Cardioid” and “Dynamic” are characteristics that ensure your mic will pick up as little background noise and keyboard/mouse clicking noises as possible.
After you get your microphone, we highly encourage you to check out our list of 7 tips that will help your microphone sound better when recording. Following the advice in that article should help you sound a little better and help you build authority with your students by sounding like a broadcast professional.
What drawing software do I use?
With the abundance of free drawing software available right now, which program you decide to use is entirely up to you.
The ‘official’ software the Sal Khan used for his videos is SmoothDraw3. The app is free, easy to use and is designed to play nicely with drawing tablets, but it only seems to run on Windows computers.
If you’re looking for a free cross-platform drawing app, you can use one of the many browser-based drawing apps out there, like Pixlr, Sketchpad.io or PaintZ.
What drawing tablet should I purchase?
If you don’t have a 2-in-1 laptop, you’re going to need to purchase a drawing tablet if you want to make Khan Academy style educational videos.
NOTE: These aren’t like Android tablets or iPads. A graphics tablet like the ones we talk about here don’t have screens, they’re just like a bigger, pressure sensitive laptop touch-pad that you connect to your computer through a USB cable. You can then use the special stylus they come with to draw/write on your computer.
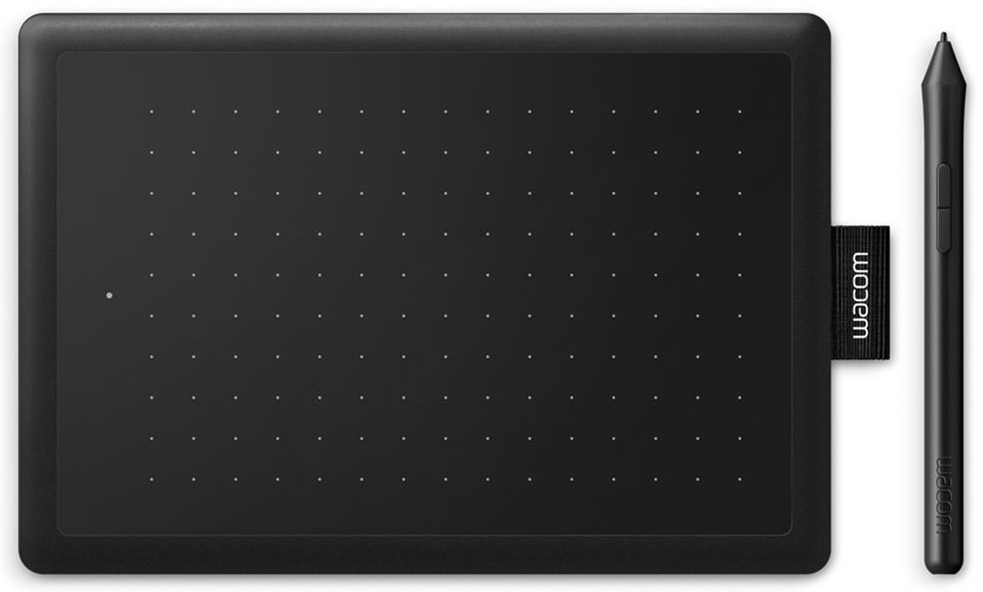
There are many types of drawing tablets available out there, but don’t let that intimidate you. For our purposes (and even for most people looking to get into creating digital art), the cheapest tablets available are more than enough to get the job done.
Wacom, XP-Pen, Huion and Monoprice tablets are the most reputable brands out there, with Wacom being the biggest name in this game. You should be able to find a beginner level graphics tablet from one of these manufacturers for around $50 at any online store.
How do I hook the graphics tablet up to my computer?
With most tablets, all you need to do is hook it up to your computer via the provided USB cable (although any USB cable should work, really). Your operating system usually downloads the drivers automatically and takes care of the rest.
On the slim chance that doing just that doesn’t work, look in the user manual to see if there are any special set-up instructions for your graphics tablet.
How do I create my virtual blackboard and start drawing?
Regardless of what drawing program you’ve settled on, the next steps should be pretty much the same:
- Create a new file/project. Set the Image Size (Canvas Size) to something big, like 4000 x 2000 (1920 x 1080 is fine too if your computer can’t handle larger sizes). This will ensure that you have enough space on your ‘blackboard’ for all the notes you’re going to be taking.
- Use the Paint Bucket tool to fill the entire canvas with black or whatever other color you want to use as a background for your notes. We recommend that you don’t go too crazy with the color though, you want it to be easy on the eyes since both you and your students are going to be looking at it a lot.
- Go to the layers section and click the Create New Layer button. Unless you’re usic the basic paint software that comes with Windows, your editor probably has a menu for Layers and it looks something like this.
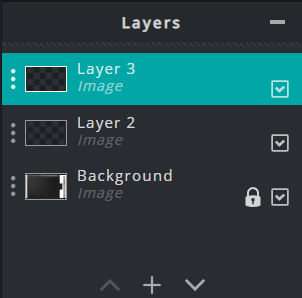
This is going to be the layer where you do all your writing. Having the writing and the background on different layers is useful because it’s going to allow you to erase any mistakes without erasing the background color along with them.
Make sure you have the writing layer selected and start drawing/writing away. Your notes might not look very good at first, so take your time to practice and get used to your new graphics tablet!
How do I record the actual video?
To record your video, all you need to do now is fire up your screen recording software and get to work.
The most common free option for screen recording is OBS. It’s free to download from the official software and allows for a lot of fine tuning to get the best video (and audio) quality options.
The downside to it, however, is that the wealth of options available can easily overwhelm most beginners and trying to learn it might be a little overkill if all you’re trying to do is create Khan Academy style educational videos for your students.
If you’re looking for something much easier and that will run on all platforms, why not give Flixier a shot?
It runs in your web browser, lets you record your screen, microphone and webcam at the same time if you want to and you can even use it to auto-generate natural sounding subtitles based off a script in case you're a little microphone-shy and don't feel like using your own voice in the video!
The best part, however, is that Flixier is not only a screen and camera recorder, but also an online video editor, meaning that you can easily use it to cut, trim and edit your Khan Academy style video tutorials.
The simple and intuitive interface means you won't have to spend hours online watching tutorials in order to use it and the fact that the whole program runs entirely in your web browser ensures that you'll be able to edit videos smoothly even if your computer is a bit old.
On top of that, our cloud-rendering technology means that your videos will always be ready in 3 minutes or less and our online video editor works on any operating system, from Windows to Mac or even Chromebooks!
Closing Words
We hope our article helped shed some light on how to make Khan Academy style educational videos. If you want to learn more about creating educational and instructional video content, feel free to check out the rest of our blog! Or if you're ready to make your own educational videos, feel free to start creating with Flixier right now!
Dan is passionate about all things tech. He’s always curious about how things work and enjoys writing in-depth guides to help people on their content creation journey.

How to Create Great Instructional Videos in 6 Easy Steps (2021)
Are you looking for a way to leverage your teaching skills and start a successful YouTube channel? Or maybe you’ve worked hard to become an expert in your field and now you want to help others out on their journey. No matter what your reasons for creating instructional videos are, this guide is going to help you navigate through the process step-by-step.
Seven Tips That Will Make Your Microphone Sound Better When Recording
If you’re looking to improve the quality of your voice recordings, you don’t need to worry anymore! We’re here to give you some tips that will help you get better sound for your videos. These tips will work regardless of whether you’re using Flixier to record your voice or other programs like Audacity or Adobe Audition. For the most part, getting a high quality recording relies mostly on preparation, meaning most of the work gets done before you even press the Record button.


