How to Screen Record on Windows 10?
Updated on June 1, 2025

Table of contents
Are you ready to capture your screen like a pro on Windows 10? Whether you're crafting that killer YouTube tutorial, showing off your gaming skills, or guiding your coworkers through a tricky process, the right screen video recorder for Windows 10 can make all the difference. You might also need to record online meetings – of course, it goes without saying that you need to get permission before doing so.
Whatever your specific needs may be, using the appropriate screen video recorder tool can make or break your post-editing experience, leaving you either enraptured or crestfallen.
Windows comes with some nifty built-in features for screen recording, and there are plenty of free or premium third-party options out there. Each has its ups and downs, and that's what we'll dive into, so keep reading to learn how to screen record on Windows 10 easily.
Xbox Game Bar (Built-In Tool)
The Xbox Game Bar, originally crafted for gaming aficionados, is a gem for recording browser activities, creating software tutorials, and beyond. It's the go-to tool for anyone who wants a quick and no-cost screen capture for Windows 10. However, like every hero, it has its limitations. It can only record one application or window at a time, which can be a hindrance if you need to showcase tasks across multiple programs or navigate Windows 10's File Explorer. So if your project requires capturing your entire screen or a webcam insert, you'll have to turn to third-party apps like Flixier(an online screen recorder that is also free and compatible with Windows 10,11, Mac, Linux, and even Android). We'll get to that option later.
How to record using Xbox Game Bar in Windows 10
Step 1. Open Xbox Game Bar:
- Press Win + G on your keyboard to launch the XboxGame Bar. To enable it first, head to Settings:
- Go to Settings > Gaming > Xbox Game Bar.
- Toggle Enable Xbox Game Bar on.

Step 2. Configure Audio and Screen Settings:
- Click on the Settings icon within the Game Bar to adjust audio and set preferences for your system and microphone audio(record in the background while you play a game, capture only audio or all(game, background music, apps, system).
- You can set the frame rate from 30fps to up to 60fps. You can also update the video quality from standard to high.
- Choose either to capture the mouse cursor or not when recording your screen.
- If you want to capture a specific game, simply open it up and activate the Xbox Game Bar while in that application.

Step 3. Start Recording:
- Press Win + Alt + R to start recording right away.
- Alternatively, you can head to the Capture widget (camera icon) and click the Record button.
- If you don't see the widget, don't worry; you can easily add it by selecting it from the Widgets menu.
- Record what happened option allows you to record the last 30 seconds of your screen activity. With the simple press of the Win key + Alt + G, you can seize those crucial seconds, even if you weren't recording your screen actively.

Step 4. Stop Recording:
- To stop, press Win + Alt + R again or click the Stop Recording button in the Game Bar.
- Look out for the notification that will confirm that your recording has been saved. Click on it to preview your recordings in the Gallery section.
Step 5. Find Your Recording:
- Head over to Videos > Captures to find your recording file, which is automatically saved in your user folder in MP4 format.

Record screen with Flixier
When it comes to capturing your screen with precision, there's a world beyond the basic tools like Xbox Game Bar.
So if you're craving more control, like seamless webcam inserts, full-screen recordings, split screen options, or the ability to record screen in Windows 10 and edit footage in one place, turning to a third-party screen recorder like Flixier can really upgrade your Windows 10 screen recording game. But this is not just a recording tool; it's a creative powerhouse. Because what's a screen recording without a bit of polish for online destinations?
Flixier’s online video editor runs completely online, so you can launch your recording in mere seconds without the constraints of your hardware weighing you down. With its intuitive interface and advanced editing capabilities, it allows even the most inexperienced creators to navigate screen recording and editing with ease. It's like feeding two birds with one scone: recording and fine-tuning recordings from one dashboard.
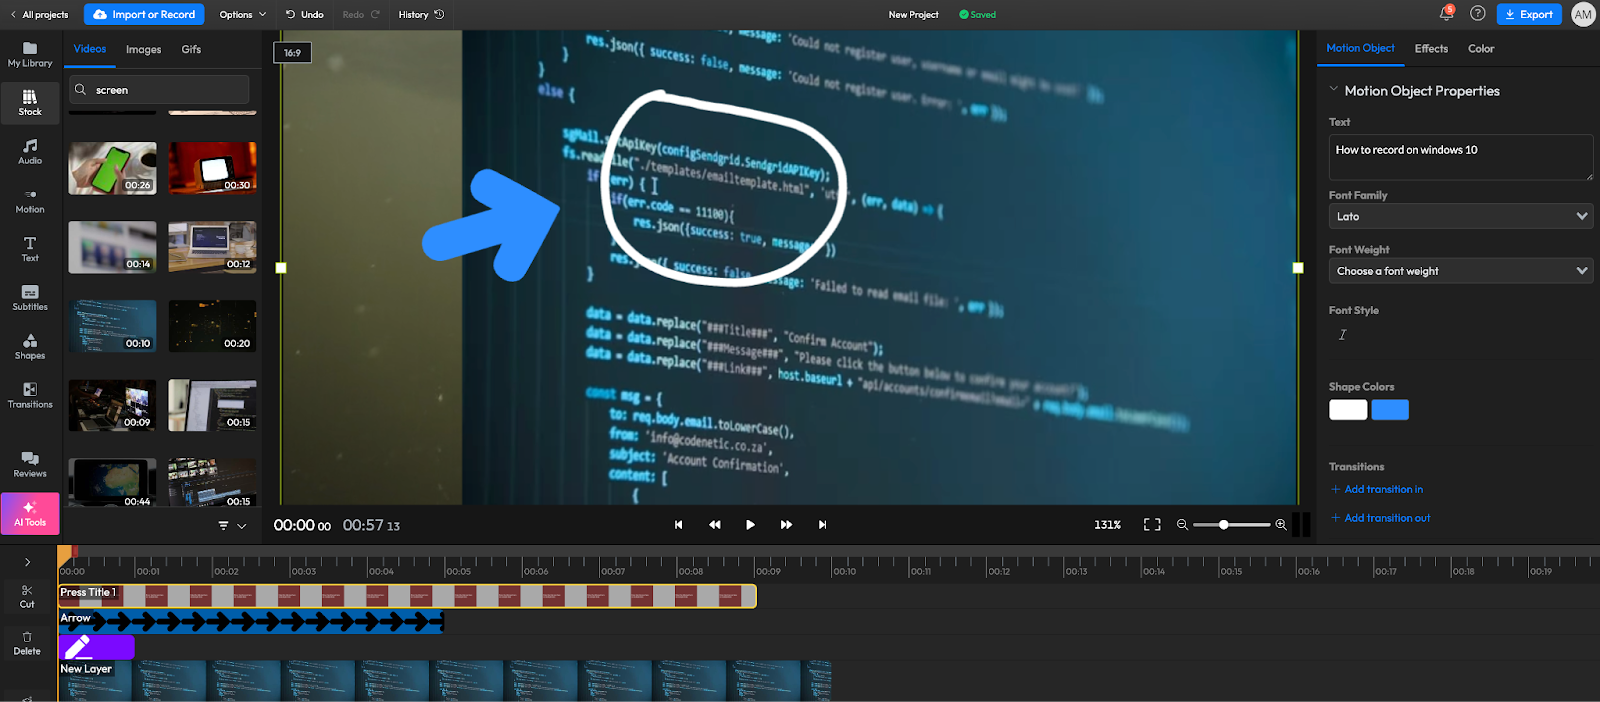
How to screen record in Windows 10 using Flixier
Step 1. Launch Flixier and choose your recording option
- Open your web browser and go to Flixier, then click on "Start Editing."
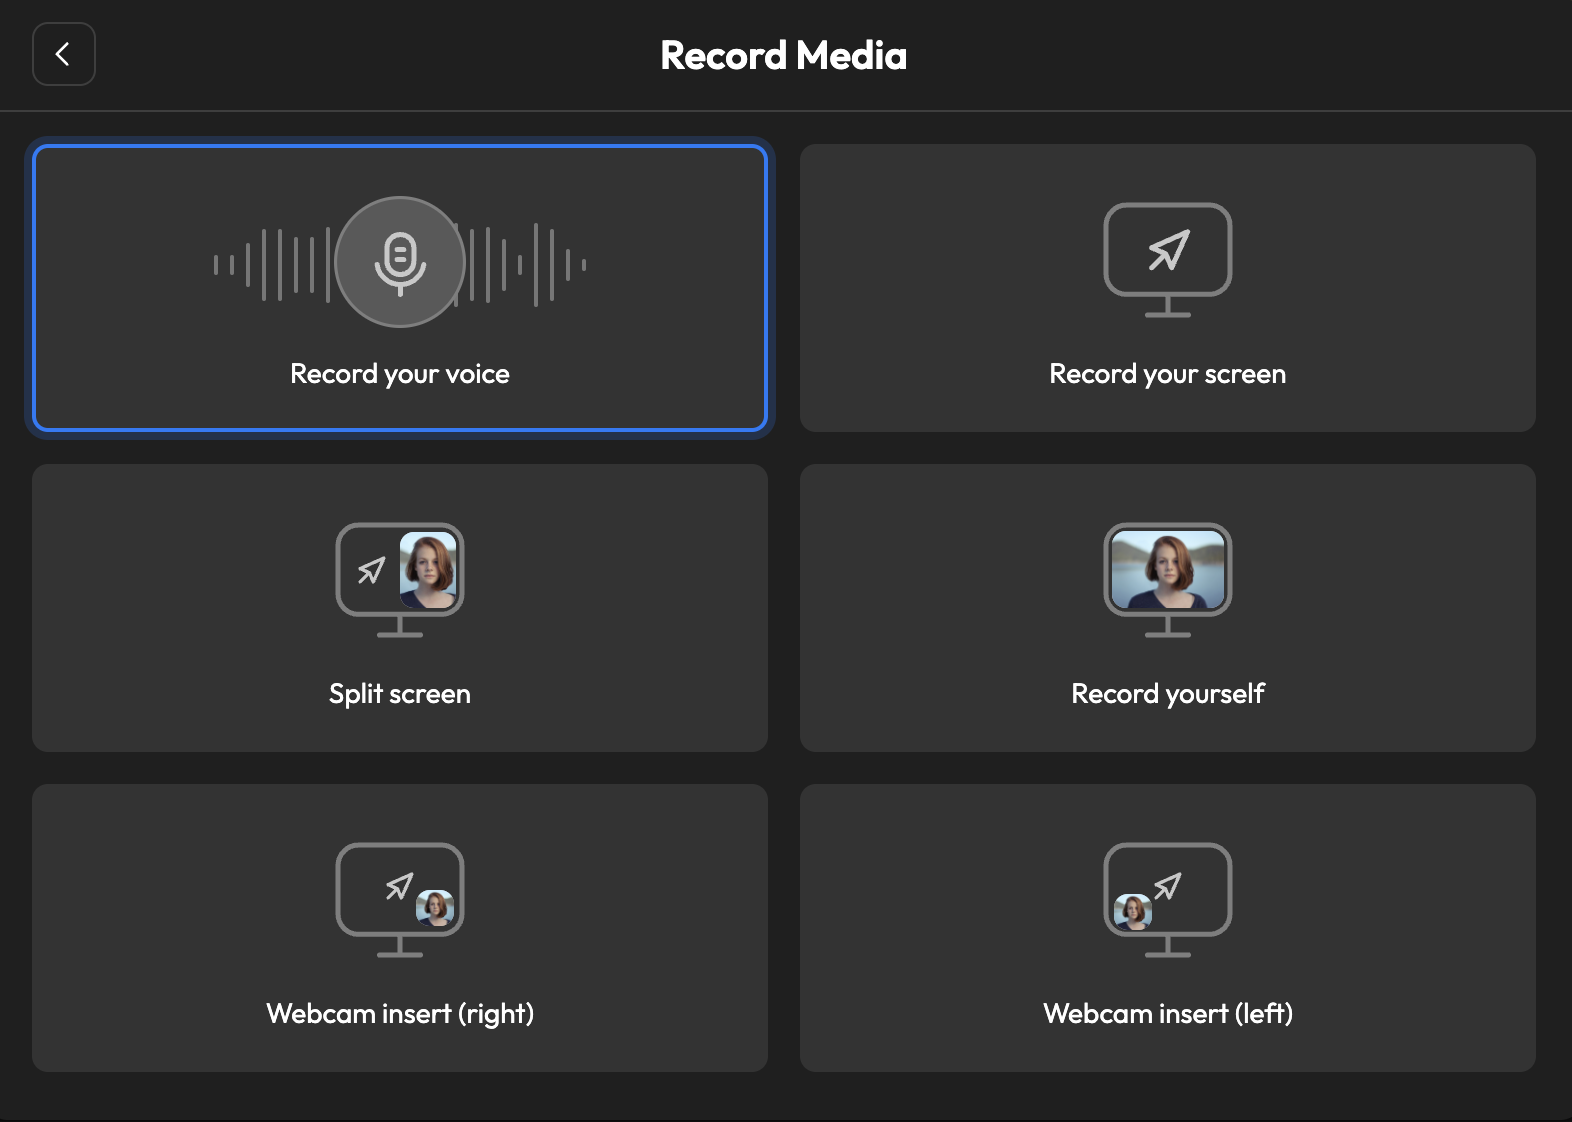
- Navigate to the "Import and Record" tab. You can select to record your screen or voice or use webcam inserts with options like split screen and webcam insert right or left.
Step 2. Start Recording:
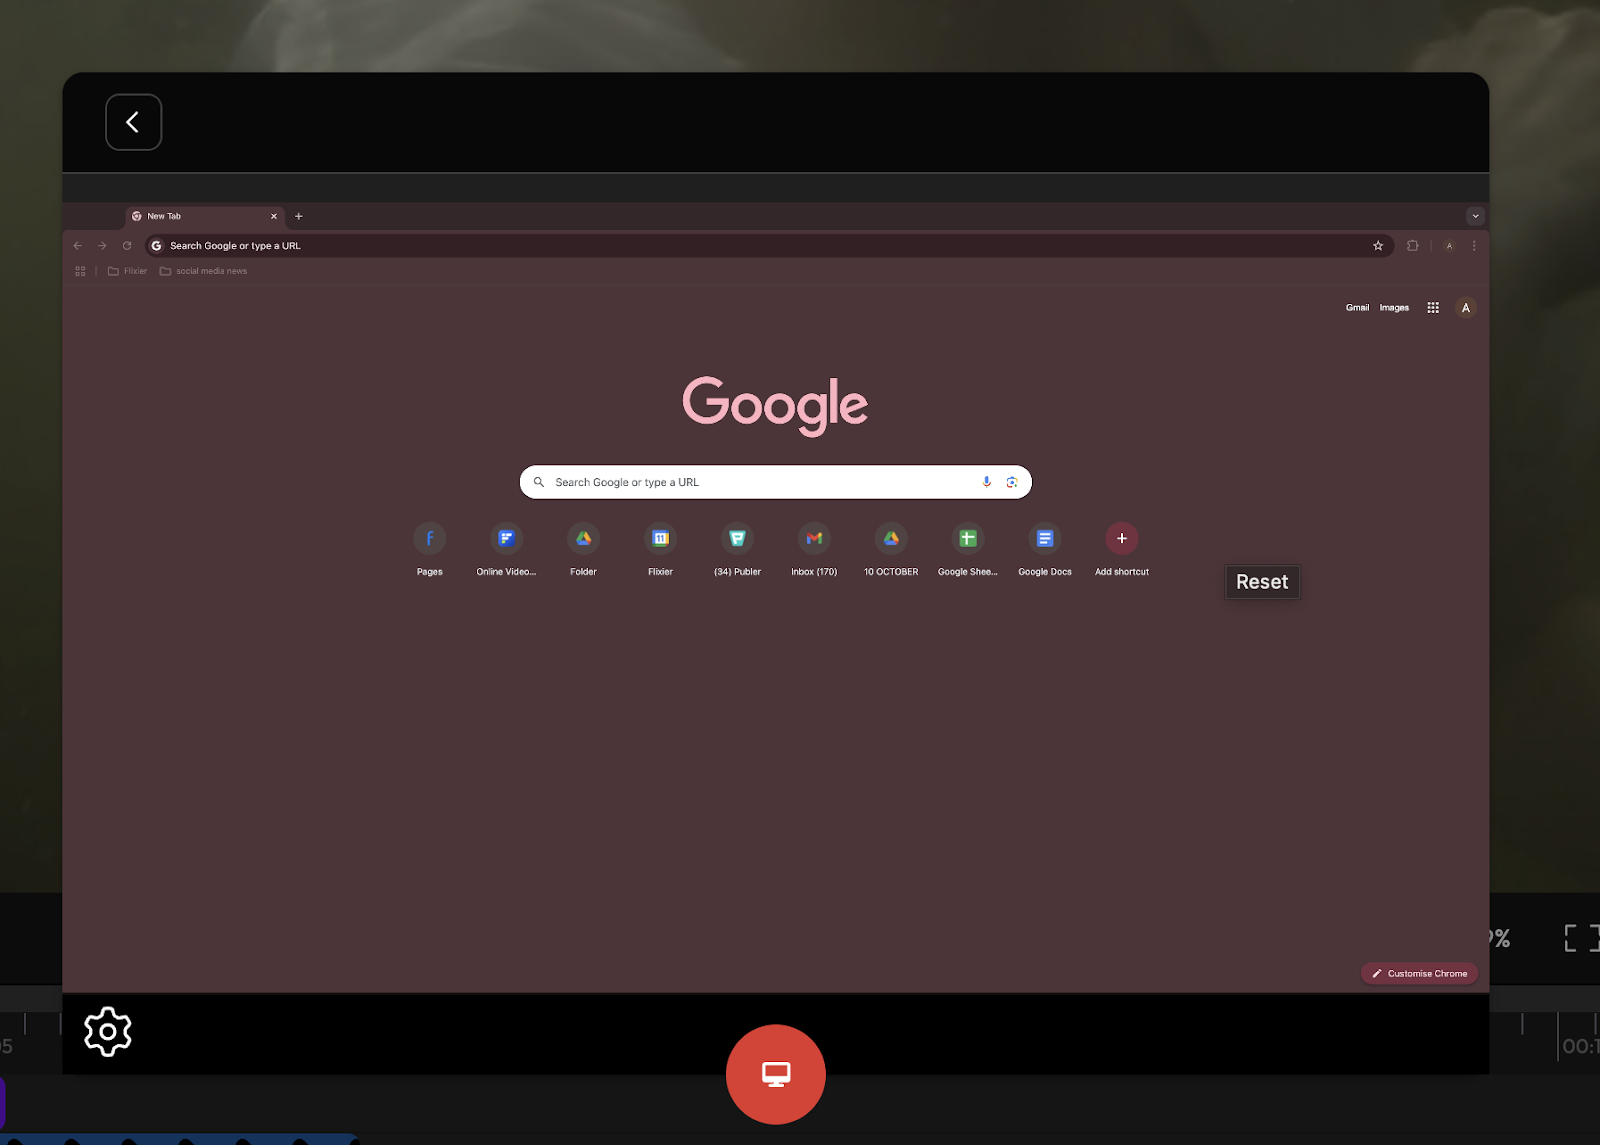
- Click the red record button to start capturing your video and then again to stop recording your screen.
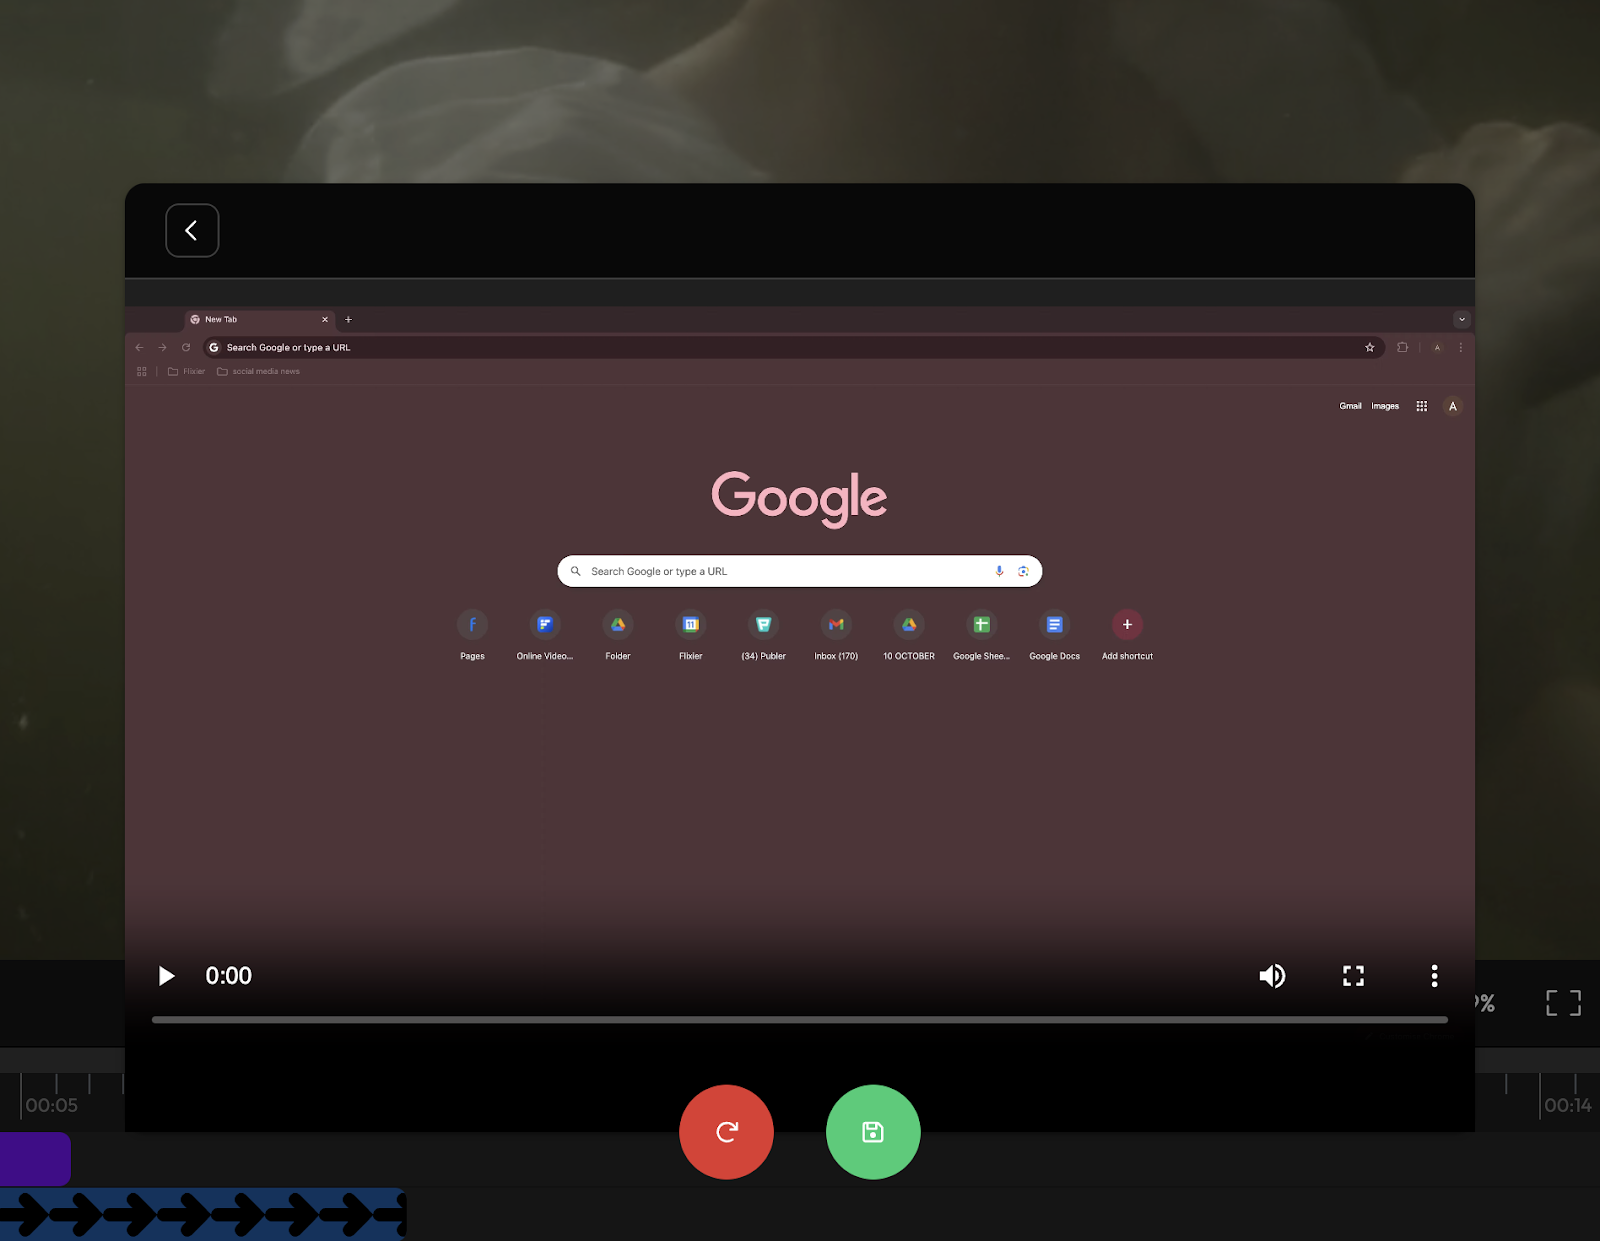
Step 3. Save Your Recording:
- After stopping, click the green button and select "Import" to add your recording to your library.
Step 4. Edit Your Recording (optional):
- Drag your recording to the Timeline and make your desired edits. Cut, trim, add music, annotate, highlight, or blur key information.
Step 5. Export Your Video:
- Save it as a high-quality MP4 or export it directly to YouTube.

Stand out features
- Multi-screen capture options
- Chroma Key green screen effects
- Built-in annotation and drawing features
- Fun stickers, emojis, and text animations
- Royalty-free music, sound effects, and video footage
- Visual effects, video transitions, and video filters
- Audio editing features: noise cancelation, audio level fixing, or speech clarity
- Export in high-quality MP4
- Direct publishing to YouTube, Instagram, Vimeo, and more.
Best Practices for High-Quality Screen Recordings
- Plan key points to cover: Avoid lengthy, off-topic explanations. Attention spans are short, so focus on delivering essential information quickly and concisely.
- Prepare Your Screen: Close unnecessary apps and notifications to avoid interruptions.
- Check Audio: Use a quality microphone, and ensure the environment is quiet. Audio clarity can make or break a recording.
- Highlight Actions: Visual cues like cursor highlights or annotations improve viewer engagement and make it easier to follow along.
- Add captions: Make your recordings accessible to a wider audience and customize captions to boost engagement.
- Edit Before Sharing: Trim unwanted parts, add text overlays, and adjust the volume for a smooth, professional result.
Keep your finger on the pulse of the latest software and industry trends to make your screen recordings shine brighter than your competition. And don't forget that your audience can be your greatest supporter or your worst critic. So, if they expect innovative features like split screens, picture-in-picture, or video filters, don't disappoint them; make sure to integrate them to keep your content fresh and relevant.
Andreea is always ready to take you through the latest news, tips, and guidelines on video editing. A consumer of too much (latest) information and a notorious overthinker, she's a wearer of many hats and a master of some.


How to Stream Games on Twitch From an Android Phone
If your phone is your main gaming platform, it’s only natural that you might want to stream your gameplay on Twitch as well. After all, PCs and consoles have been doing it for years, so why not phones? This article is going to show you how to easily start streaming your mobile gaming sessions on Twitch. All you need is your phone and an internet connection.

How Uploading Your Twitch VODs to YouTube Can Make You a More Successful Streamer
This article is going to help you achieve growth as a Twitch streamer by promoting your content on the YouTube platform. By reading it you will learn how to enable Twitch VODs, the benefits they bring and how you can edit and export Twitch VODs to YouTube. It also contains tips and tricks on how to edit your past stream recordings in order to turn them into proper gaming videos for YouTube.
