Create Instagram Reels in Your Browser
Create engaging Instagram Reels easily, in your web browser


Make Instagram Reels that stand out with music, animated text and more!
Thanks to Flixier, you can create engaging Instagram Reels right in your web browser, even if you don’t have advanced editing skills or previous experience. Our online reel maker makes it easy to bring over videos and songs from your computer, YouTube or SoundCloud. You can cut and combine videos easily, add background music and audio effects as well as generate captions, add motion text and things like animated Follow buttons. On top of that, Flixier runs well on anything, including old laptops, so you don’t have to worry about having an expensive computer in order to use it.
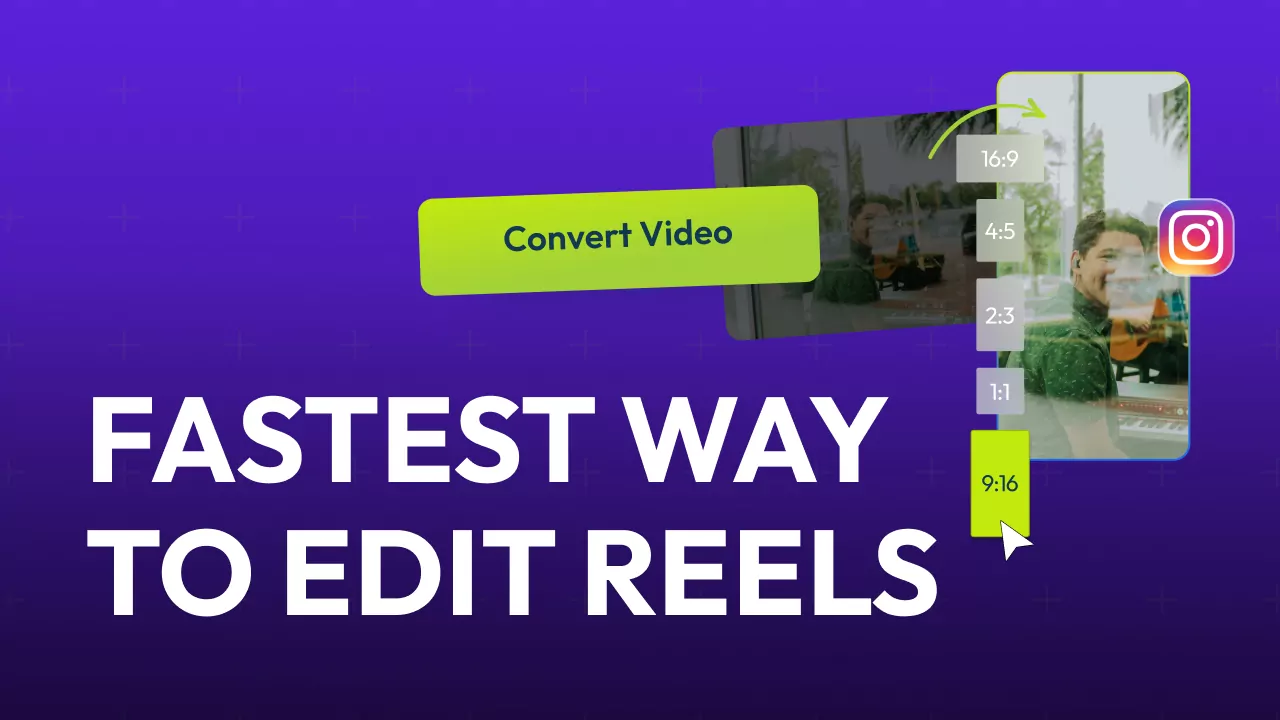
Use a video creator optimized for Instagram
The Flixier video creator offers plenty of presets that are optimized for vertical platforms such as Instagram Reels. You can easily switch between landscape and portrait mode when making a video: just choose a 9:16 (vertical) aspect ratio in the settings.
Create Instagram Reels with catchy songs or trending audios
Add audio to your Reels easily with Flixier! Upload audio files from your own computer, or import songs from SoundCloud and YouTube by copying and pasting the link. If you want to be completely original, you can use Flixier to record your microphone or camera as well as browse our stock audio library that’s filled with dozens of non-copyrighted songs and sound effects.
Add animated calls to action to your Instagram Reels
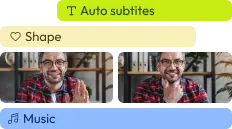
Anyone can add stylish animated text and motion titles to their videos using Flixier. No animation experience is required! All you have to do is open the Motion tab and choose from one of the many professionally animated motion graphics, then drag and drop it onto your video. From there, you can customize its colors, text and even fonts to make it fit your aesthetic!
Generate captions for your Instagram Reels
Add captions to your Instagram Reels to improve engagement and make them more accessible. All you have to do is right click your video (or audio track) and select Generate Subtitle. Flixier will create synchronized captions that you can add to your video, edit manually and customize however you see fit.
How to make Instagram Reels?
1
Upload or record your media
Click the Start Editing button in the top right corner of the screen to open the Flixier editor in your web browser. Then, drag over any media that you want to use in your Reels. If the videos and audio files aren’t on your computer, you can bring them over from YouTube, SoundCloud, or cloud storage services using the buttons in the import menu that’s displayed on screen.
2
Edit your Reel
Once you have everything you need, start dragging your clips over to the timeline at the bottom of the screen. Arrange them in any order you want, cut out unwanted parts and overlap two clips on the same track to add transitions. You can also add Text and ‘Follow & Like’ buttons from the tabs on the left side of the screen, while the Audio tab lets you browse through our library of copyright-free songs and sound effects.
3
Download your Reel
When you’re done editing your reel, click the Export button in the top right corner of the screen. Flixier will take a few minutes to process your video and then it will be saved to your computer.
Why use Flixier to create Reels on Instagram?

Jump right into editing with an online reel maker
Flixier runs right in your web browser, so you no longer have to worry about downloading and installing apps to your computer. It also does all of the heavy lifting on cloud servers away from your computer, so it will run smoothly on any machine, regardless of system specs. Get a headstart by using our AI video script generator for viral Reels.

Turn your YouTube videos into Reels
Use Flixier to repurpose your YouTube content and grow your Instagram account along with your YouTube channel. Our tool allows you to resize videos for Instagram Reels from Shorts or YouTube clips with just a little bit of editing. You can easily convert videos from landscape to vertical, add captions and cut them down to shorter lengths in a few clicks!

Add customizable text to your videos
Add text to your videos to highlight important information and keep users engaged. Flixier allows you to customize everything about your text elements, from fonts to text color, size, shadow and stroke. This, along with the large number of professionally designed text presets available, makes it easy to create beautiful, unique videos that reflect your brand identity.

More than an Instagram Reels maker
Don’t limit yourself to creating Instagram Reels. Flixier can do a lot more than that! It’s a fully featured online video editor that can help you create all the video content you need. From a screen recorder and video editor to an Instagram ad creator, Flixier can be whatever you need it to be.
Need more than creating Instagram Reels?
Edit easily
With Flixier you can trim videos or add text, music, motion graphics, images and so much more.
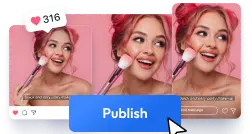
Publish in minutes
Flixier is powered by the cloud so you can edit and publish your videos at blazing speed on any device.

Collaborate in real-time
Easily collaborate on your projects with Flixier, we offer real-time feedback and sharing of projects.

You`re ingood hands
Over 1 million creators use Flixier every month including brands like:


Frequently
Asked
Questions
Can anyone create a Reel?
Anyone with an Instagram account can create and publish Reels on the platform.
How do I become a Reels creator?
Anyone can become an Instagram Reels creator. All you need to do is dedication and the right tools. An online video editor like Flixier offers a great way to create engaging Reels on Instagram quickly and without any advanced editing skills.
Can you make custom Reels on Instagram?
Yes! You don’t need to use any templates in order to make your Instagram Reels. Thanks to cloud video editors like Flixier, it’s easier than ever to create Reels from scratch and let your individuality and creativity shine!
